A blog for me, about the things I like. After Effects, Procreate, Illustrator, Photoshop, Drawing, Painting, Paper Cutting, Sewing, Embroidering, up-cycling old furniture. Whatever grabs me in the moment/
When you get interested in making flowers and decorative sugar doodahs for cakes you soon realise the shortcomings of plain fondant. You can add some oomph to it by mixing in some Tylose powder but for real, magical modelling properties, you need gumpaste. *Sigh*
Sweetpeas are made of this, who am I to disagree?
Gumpaste lends magic to your crafting skills and transforms difficult fondant to fine porcelain masterpieces… with some practice and a bit of help!
What help? As ever, YouTube has a tutorial for everything! I’ve compiled a list of my favourites.
If you’re making flowers for a cake, some of these tutorials are bound to inspire so give them a go.
Fondant is … well, fondant. But, you want to make flowers it just fails. It develops what is called ‘elephant skin’ and goes all crepey and crinkled and doesn’t have the elasticity to be frilled or fluted.
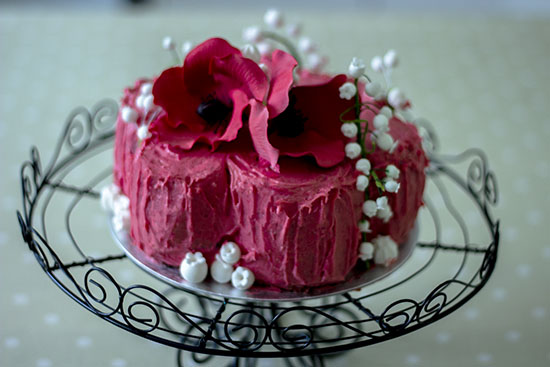
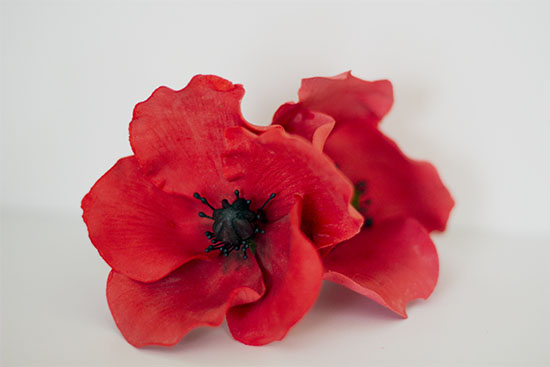
What to use? Gum paste. Take a look at the gumpaste poppies I made last week. I couldn’t have made them with plain fondant.
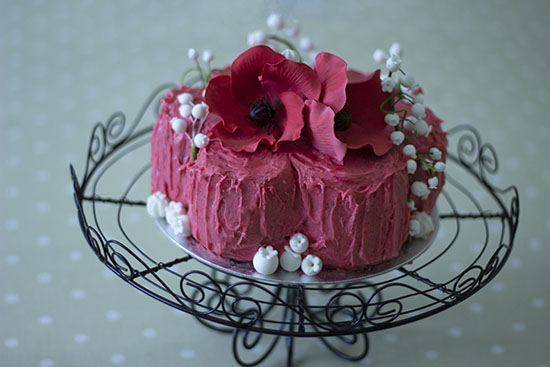
Gumpaste poppies inspired by Renee ConnorLemon & Poppyseed cake with gumpaste poppies and lily of the valley
I used the poppies to decorate a lemon and poppyseed sponge just perfect for Sunday teatime. It is filled with raspberry buttercream and covered with raspberry ganache.
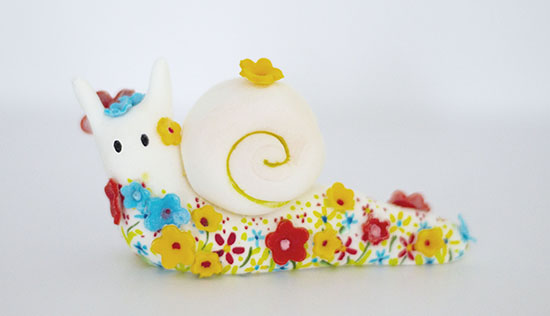
Found the cutest clay snail models made by Joo Joo on the net and had a go at doing something similar with gumpaste.
You can see how simple the basic shape is. I cut a ‘V’ into the head and tapered the V into antennae. The flower details were painted on using a fine 00 brush and Sugar Flair edible colouring. The fondant flowers were made with a petal cutter (plunger type).
Inspired by CreationsCeeCee YouTube tutorial about being stuck creatively
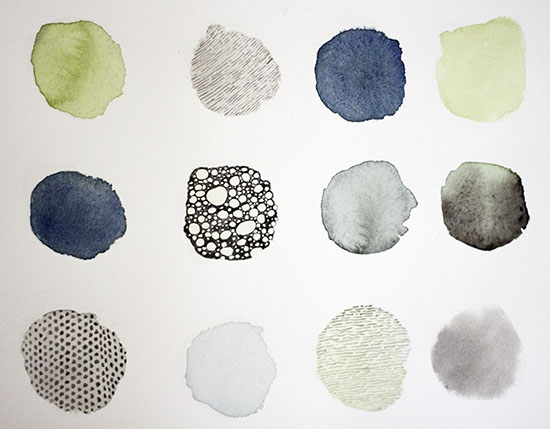
I started painting for the first time in ages this morning. I’d stumbled upon CreationsCeeCee on YouTube and was inspired to get my paints out and dabble (as above).
Cats and the vet
Jess has had some problems recently and was having a follow-up exam. Turns out she has diabetes and is now on insulin. Apparently, cats can go into diabetic remission so fingers crossed that this won’t be a long-term, chronic condition.
The second visit was with a stray cat who seems to have adopted us. His visits have become daily over the last 6 months (he has been coming around for over 18 months). The poor thing is always beaten up. Scratches, bites… and he’s dirty and hollow-legs-hungry. Yesterday, he was limping and dripping small drops of blood as he walked. We decided to take him to the vets and get him seen to.
We also decided if he wasn’t chipped, we’d have him spayed and take him in.
Checkpoint Charlie
He wasn’t chipped so we let the vet do a full check on him. He was screened for FIV, treated for worms and fleas, had a bite to his leg stitched up and his other scratches and wounds cleaned and treated. A shot of long-lasting antibiotics and he was done. We’ve called him Charlie.
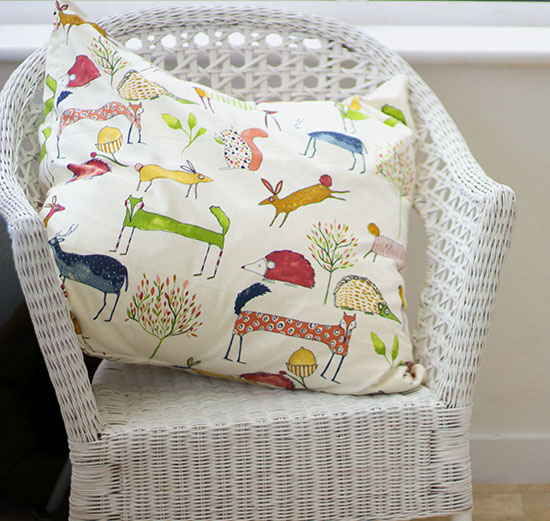
Cushion
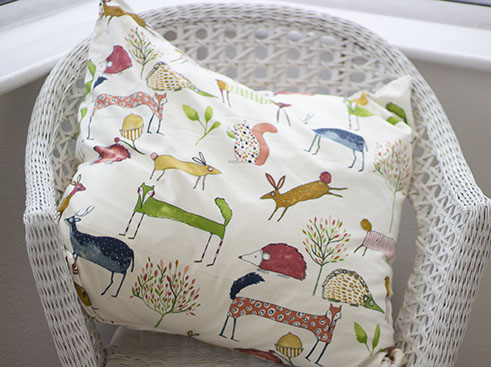
In between vet visits, I kept myself occupied with a couple of projects. The first was to run up a cushion and use the last of this lovely watercolour animal fabric. Charlie likes to stretch out on the cushion and have a good nap.
Gumpaste is perfect for making flowers and leaves. It has the strength and elasticity to lets you ruffle, smooth and stretch it to make petals and flowers with a realistic look.
I am totally in awe of the talents of Nicholas Lodge; check out one of his YouTube tutorials and you’ll see what I mean. Another one I love to watch is Renee Connor.
I’m still at beginner level but still proud of the results. Not too shabby.
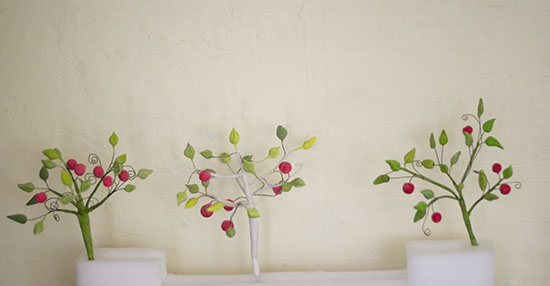
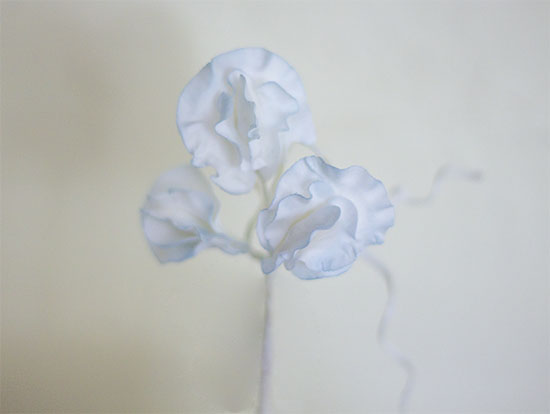
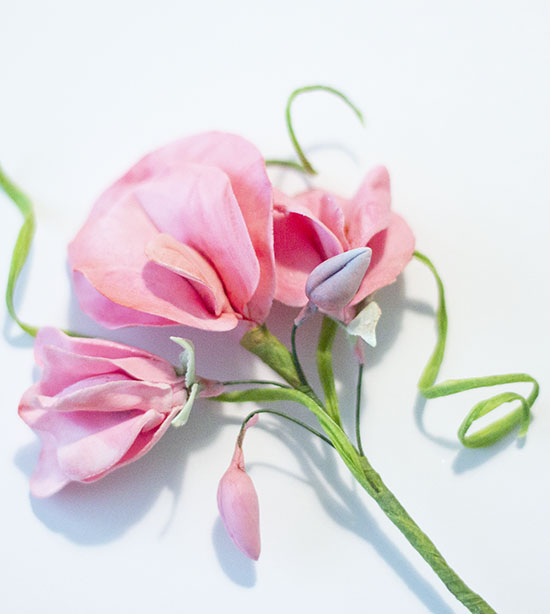
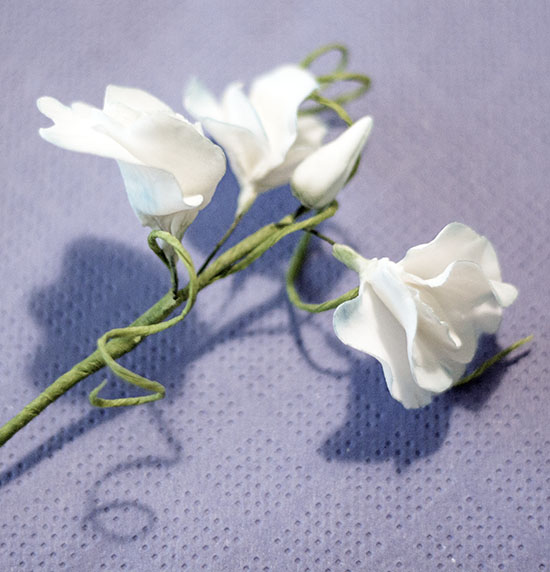
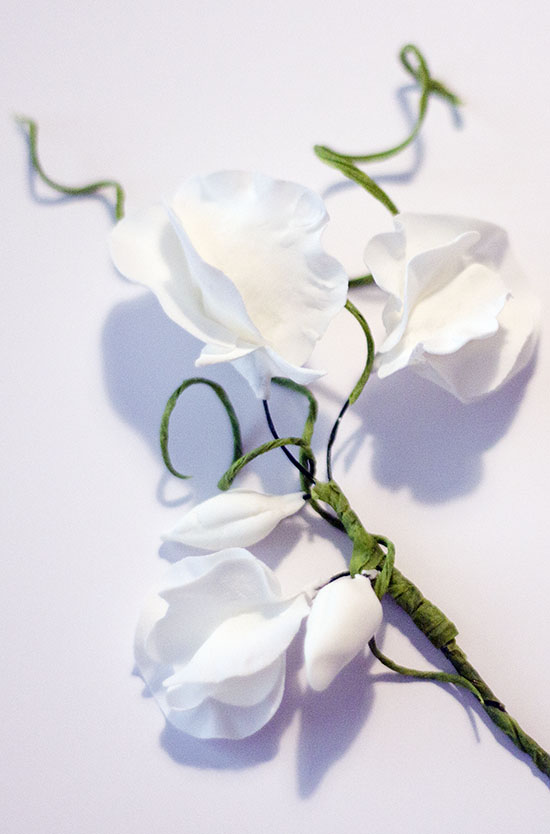
Sweet Peas made following a Renee Connor YouTube tutorialSweet Peas come in all sorts of shades. These were left white with a light brushing of petal dust on the edges and a soft dusting of foliage green at the base of each flower.Plain white ones
The floristry tape got a bit manky here! Still, am getting there and learning more as I go along.
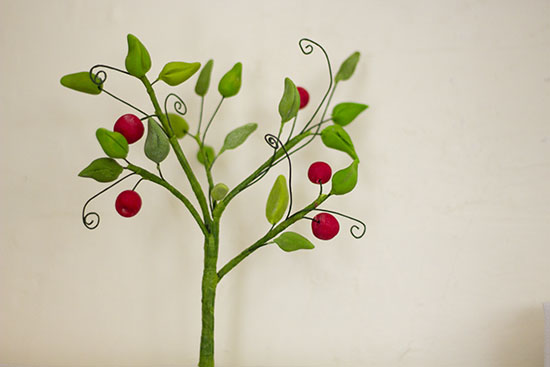
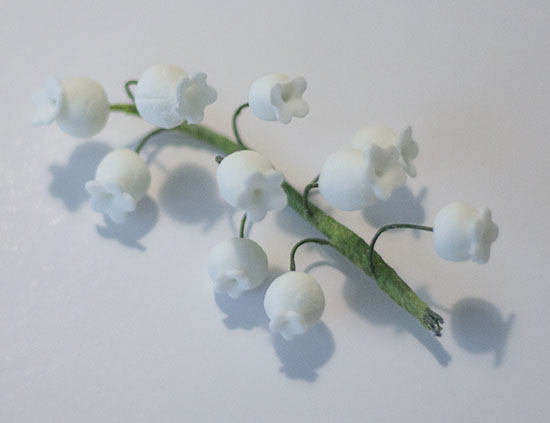
Lily of the Valley
These little flowers are little more than a ball of gumpaste with a small flower shape (don’t know what they’re called but they’re on Amazon. Simply roll a small ball of gumpaste, dip a floristry wire into egg white (you can get powdered, pasteurised eggwhite on Amazon) or edible glue.
Roll out the gumpaste, cut a flower with the plunger tool, dab a tiny spot of edible glue or egg white onto the ball and press the flower out.
My next projects are peonies – there are huge numbers of YT tutorials to choose from. And Renee Connor’s Poppies. I adore her poppies.
I have the stamens already and found that a set of hemostats I bought for making Tilda dolls come in very handy for placing tiny elements onto cakes and for forming the ridges of a poppy seed head.
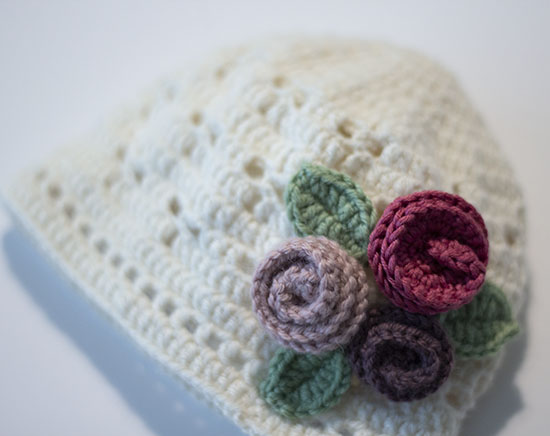
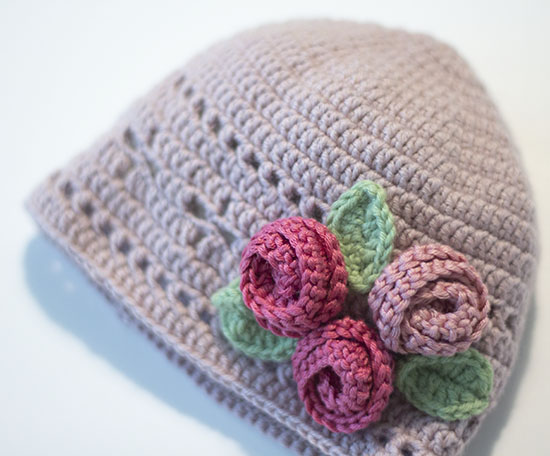
I like to make baby booties, bonnets and beanies. They use up small amounts of wool, they’re very charming and do some good as they get donated to hospitals for premature babies (am in a little crochet/knitting group).
I found this lovely pattern by Crochet Fix on Ravelry
The pattern is for adults but if you use a smaller hook with thinner wool you get a perfect baby-size beanie. She also includes some variations on the pattern as well. 🙂
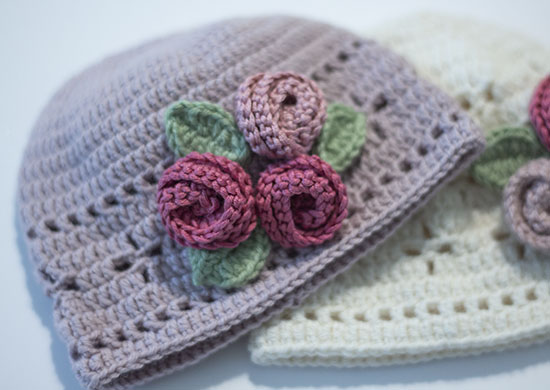
One of the variants of the Vintage Vibes pattern
I used Debbie Bliss Baby Cashmerino, an extrafine merino wool and cashmere blend, using 3.25mm hooks for both beanies and the flower embellishments
The stitch pattern reminds me of the stitch used in the ‘Call the Midwife blanket’, follow the link to get the pattern.
The flowers are called Coiled Roses by Pink Milk. You can easily adjust the pattern to make the flowers bigger or smaller. They’re perfect for using up little wooly oddments.
The pointy leaves are from Attic24’s Autumn Leaves and Flowers post. They’re perfect to add a bit of colour.
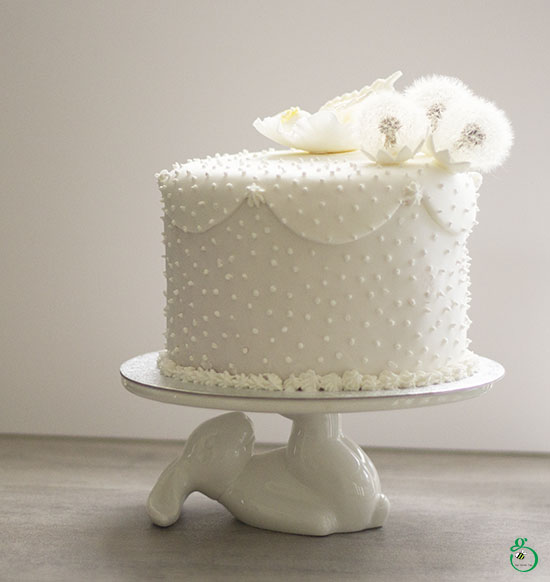
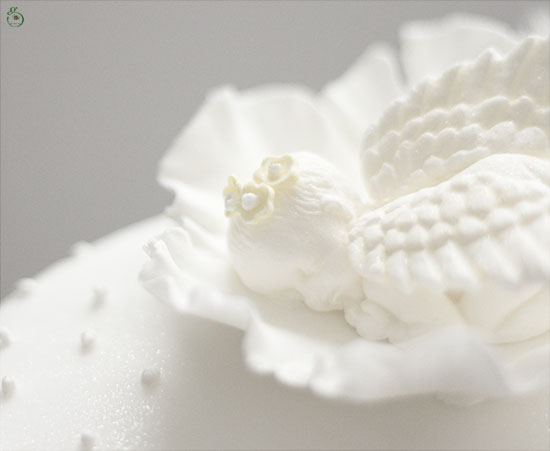
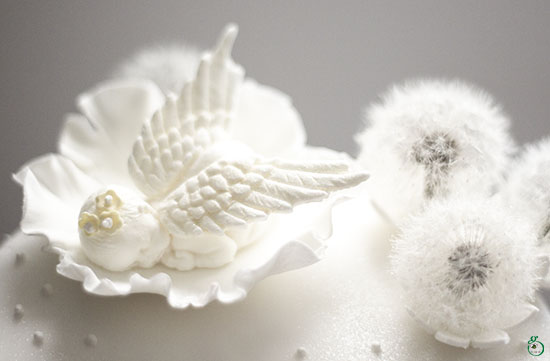
Sugar paste baby with edible silk-lustred dandelion seed heads
This week’s cake is a chocolate sponge layered with blackberry and raspberry compote buttercream with fresh chopped berries mixed in for added lushness.
It was crumb-coated, covered in fondant then dotted with royal icing to give it surface texture and interest.
The topping – sugared dandelion seed head (picked from my back garden, well away from car exhausts, no insecticides or weed killer).
The flower was molded using sugar paste and the baby was formed in a silicone mold that I got from Amazon.
I really enjoyed the icing. I haven’t done it for a while and need some practice!
Baby is perfect for a christening cake topper.
Royal Icing
400g Icing sugar
15g dried egg white
Approx. 5 TBSP water
Beat the ingredients together with an electric mixer for about 5 minutes. The consistency depends on what you want to do with the icing. Mine formed firm peaks with some yield in them.
If you make too much, you can freeze it for a month; just give it a good beat when it returns to room temperature.
The baby mold arrived with a separate wings mold.
Lustre dust drizzling across the top of the cake gives it a twinkly, delicate sheen.
Hello everyone. Today I’m posting a collection of various fondant and sugar paste recipes.
Piping gel is useful as a light glue, for example, when working with wafer paper, and has the useful property of drying clear. If you need a more substantial glue, dissolve some sugar paste into it. You can also use piping gel to:
Create ‘water’ such as little ponds when decorating cakes. You can add food colouring to tint it blue or leave it clear. It dries with a shine.
You can add edible glitters to add sparkle to your sugar craft creations!
It’s good for creating stained glass effects.
Use it as a glaze on fruit tarts.
Piping Gel
50g sugar
1 TBSP cornflour
45g lemon juice
45g water
Dissolve the cornflour in 23g of water then stir in the
lemon juice
Dissolve the sugar and remaining water in a pan over heat
When dissolved, add the lemon/cornflour mixture to the sugar/water
mix on the heat and stir till it thickens up.
Store in a glass container
You might have to add a little hot water to the mixture to thin it out a bit if you leave it some time before using it.
Pastes and Fondant
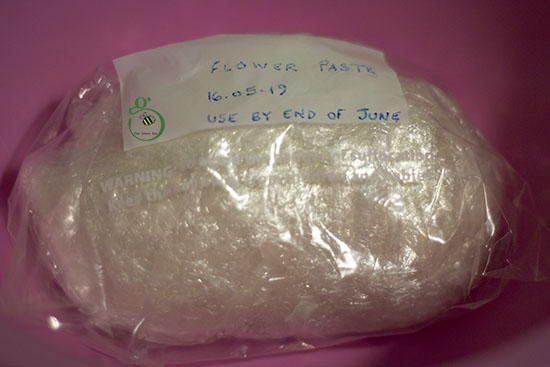
I’m fairly sure that petal paste, flower paste and gum paste are one and the same thing. Flower paste is used to make delicate, life-like ‘fondant’ creations such as … flowers! It’s elastic but tough and can be rolled out to an almost transparent thickness without tearing.
Gum paste
Flower / Petal / Gum Paste
500g icing sugar
2 tsps (approx. 8g ) egg white powder mixed with 3 TBSPs of warm water (let sit about 20 mins)
1 tsp gelatine mixed with 3 TBSPs of warm water, let sit for 10 mins
4 level tsps. of warmed coconut oil
2 x 5ml tsps. of liquid glucose
3 tsp tylose
Place 400g of icing sugar into a bowl. Add the tylose to the remaining 100g of icing sugar in a separate bowl. WARM the gelatine mixture in the microwave and mix in the liquid glucose and coconut oil.
Stir the 400g of icing sugar into the egg white.
Add the warmed gelatine mixture to make a soft paste. Add the 100g icing sugar / tylose and knead together.
***If you want an even tougher mix, add some Gum Tragacanth to your gum paste – just a squinch and only to a little of your gum paste. Knead it in and leave for a half hour or so to ‘cure’. Do not add it to the whole of your gum paste as it will set rock hard.
Cover the surface of the paste with a thin coating of coconut oil then wrap in clingfilm and leave overnight. Knead well before using it. It will keep for about 6 weeks if wrapped and kept in a closed container.
Simple Gum paste
You can make a quick and easy version of gum paste using just fondant and tylose but I find it doesn’t have the same elasticity or tear-resistance as ‘proper’ gum paste.
Add 1-2 teaspoons of Tylose powder to 1 pound of fondant. Knead it in and let it rest overnight before using for best results. If you live in a region of high humidity, you might need to add more icing sugar.
Modelling chocolate
Modelling chocolate is delicious and super for sculpting models for cake toppers and such like. It is made with chocolate and golden syrup but the ratio between the two depends upon the type of chocolate you want to use:
White chocolate is made in a 4 : 1 ratio, eg, 16 oz white chocolate to 4 oz golden syrup / corn syrup
Dark chocolate is made in a 2 : 1 ratio, eg, 16oz dark chocolate to 8 oz golden syrup / corn syrup
Candy melts is a 5 : 1 ratio, eg, 15 oz candy melts to 3oz golden syrup / corn syrup
*** I haven’t found a specific recipe for using milk chocolate so I would blend white and dark chocolate together in equal proportions and base it on the dark chocolate recipe. ***
Melt your chocolate in the microwave or over a bain marie. If you’re using a microwave, take it slowly starting with a 1 minute burst then carry on in 30 second bursts, stirring in between. When the chocolate is melted, warm up the golden syrup for about 15 seconds to make it easier to blend with the chocolate.
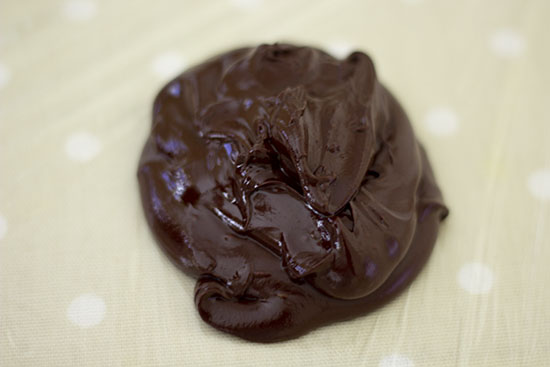
Mix together until all the golden syrup is fully incorporated and looks like soft serve ice cream. Stop stirring! If you keep stirring at this point the mixture will get softer and the cocoa butter will separate out.
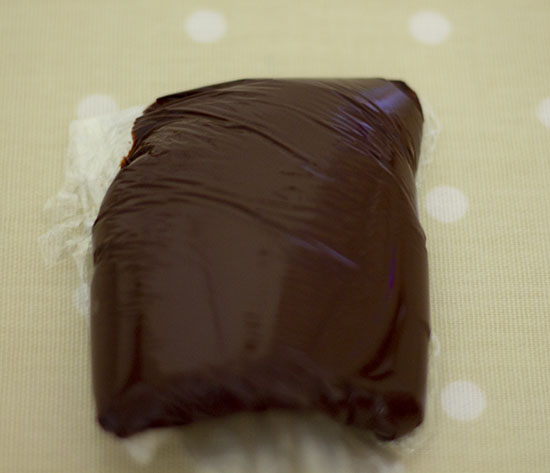
Turn the mixture out onto cling film:
Dark chocolate and golden syrup blend
Wrap the chocolate mixture in the cling film and put into the fridge for a few hours to set.
Wrapped in clingfilm ready to go into the fridge to set
It will set really hard. When you’re ready to use it, just pop it in the microwave for a few seconds at a time until it softens up to a kneadable consistency.
You don’t HAVE to use golden or corn syrup. You just need something sticky and viscous to give the chocolate some elasticity. You could use honey, maple syrup, maybe even treacle. The main thing is to keep the chocolate flavour and smell; you decide which you find least intrusive on the nose and palate.
Wrap modelling chocolate in cling film /saran wrap and store in a zip-lock bag. It will keep for around 3 months this way or pop it in a freezer bag and it will be good for up to 2 years!
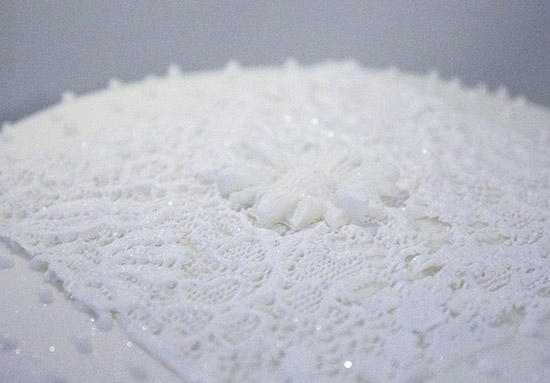
Sugar Lace
Sugar lace is amazing. It’s thin, delicate but has good tensile strength. Spread it thinly over silicone lace mats – I think they’re called ‘impression mats’ – and leave to dry then stick on your cakes for beautiful results. Look on Amazon or good cake suppliers to see the wonderful designs available.
Lace topped cake I made a couple of months agoThe lace mat I used for the topper
The lace looks delicate but you can handle it quite roughly (not intentionally, 🙂
You can buy it pre-made but my recipe has given me perfect results, is a lot cheaper and you don’t have to wait for delivery.
1 tbsp Tylose powder
60ml Boiling water
1 tbsp Icing sugar
2 tbsp Cornflour
1/2 tsp Liquid glucose
A drop of gel food colouring
Note: A little edible lace goes a long way so there’s no need to make a huge amount at any one time but you can double up the recipe if you really want.
Stir the Tylose into the boiling water and let it sit for about 10 mins or so or until the mixture has become clear and no powder is left.
Stir in
the icing sugar and cornflour.
Stir in the liquid glucose.
Finally, blend gel food colouring into the mixture if you want coloured lace.
Store the edible lace mixture in the fridge in a closed container; it will keep for about a week. When you want to use it, take it out of the fridge and let it come back to room temperature.
Spread the lace onto silicone lace mats making sure you work it into all the nooks, crannies and crevices but keep it as thin as possible.
Scrape off excess with a cake scraper and return the excess to the rest of the mixture.
Air-dry overnight or place in a coolish oven, approx. 60C/ 110F for about 20 mins to dry it quicker. Check to see if it is dry by very gently picking a corner to see if it lifts away from the mat. If it’s still sticking it needs a little longer to dry.
Store lace decorations between sheets of folded parchment paper in a food container. The lace decorations keep well for a couple of months this way.
Dusting bags
Finally, make your own ‘dusting bag’ to ‘pounce’ icing sugar/cornflour on your work surface to prevent your fondant or paste sticking when being rolled out.
Take a piece of open weave fabric, eg, muslin, and spoon in the cornflour (icing sugar can dry out the fondant or paste but okay if you have nothing else).
Scoop together to form a little bag and secure with an elastic band.
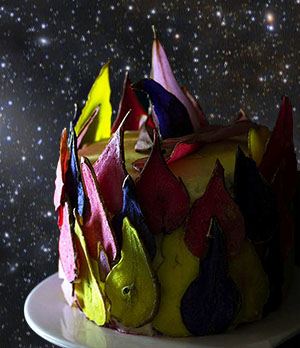
Somewhat in the spirit of Mrs Doyle getting a bit carried away and baking a jumper in a cake I have set the Virgo cluster constellation circling the pear slices cake I published a few weeks ago.
It was inspired by an Adobe tutorial for CSS which didn’t actually work. I sat looking at it then realised their tutorial had an error. It was transitioning an image from 0 degrees to 360 degrees, which of course, is zero to zero. Obviously, it wasn’t going to rotate anywhere. Anyway, I created the HTML and set the rotate command to 180 degrees and opened it in Chrome.
Then, like I said, I got a bit Mrs Doyle and made a silly video with a little soundtrack which is well worth listening to though the video is nothing more than the constellation going round and round my pear sliced cake…
The animation was created in Photoshop then imported into Premiere Pro to lay down the sound track.