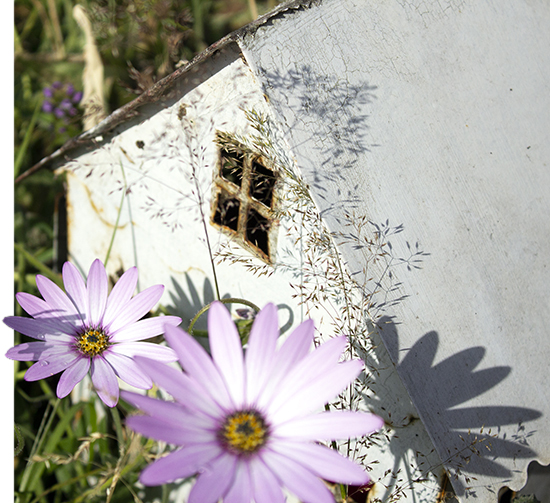
This is a picture of a tealight house in my garden. I love the grassy seed heads growing wild around it – so delicately pretty. Look at the gorgeous shadows they cast on the white roof.
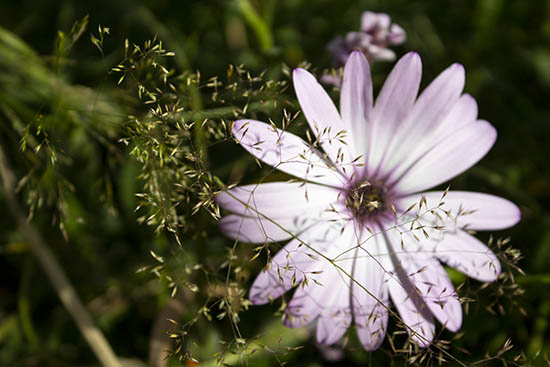
And here:
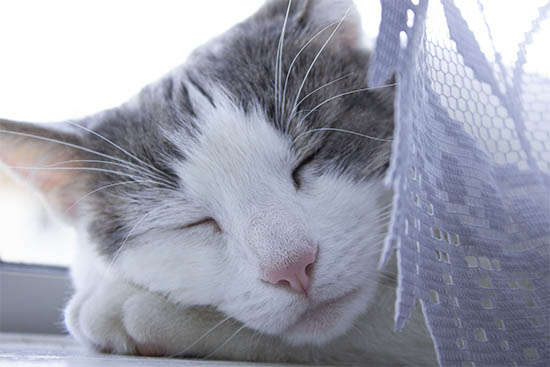
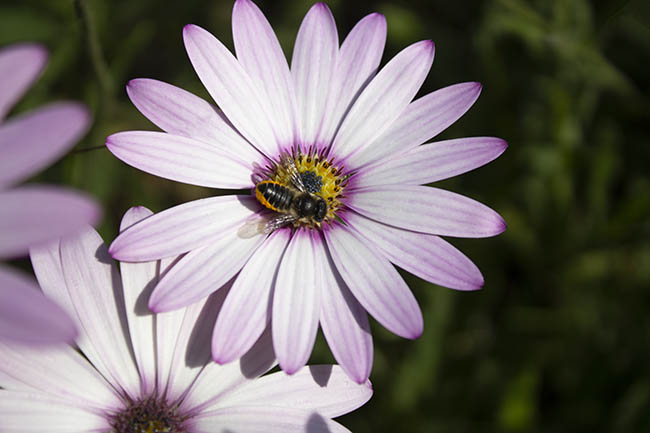
Beatrice.
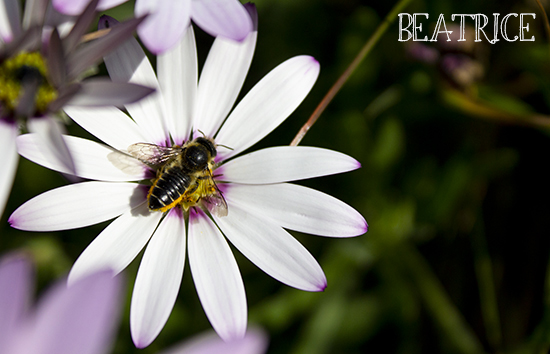
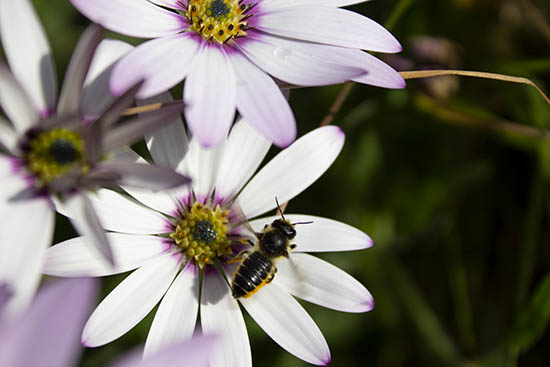
Probably going back to the hive for some breakfast 🙂
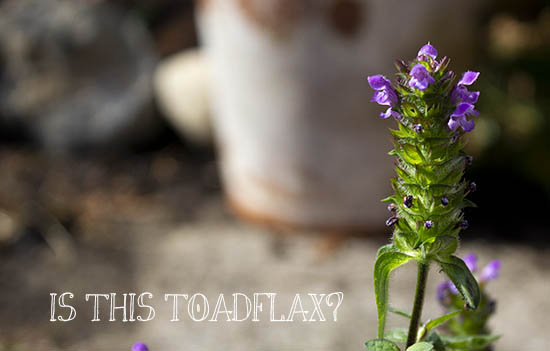
The bees also love this purple flower. I think it’s Purple Toadflax.The bees like it and that means it earns its keep in the garden. I have patches of clover and lawn daisies galore (love, love love lawn daisies) that the bees love even more than I do, so they stay, too.

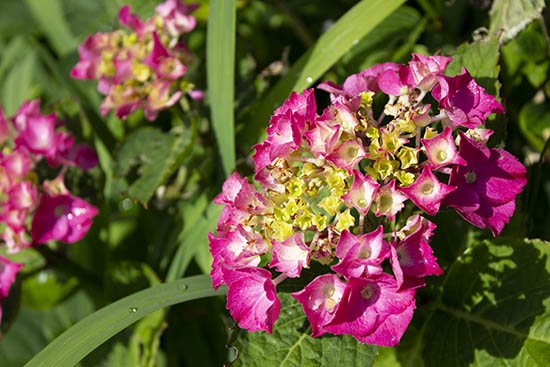
The Hydrangeas are starting to outrageously burst out in riots of hot pinks around the garden front and back. Mine are huge and become massive bushes of colour. They are gloriously ostentatious, enjoy being centre of attention. No modesty whatsoever. They would show their knickers through the letterbox if you let them 🙂
I also have Petunias, Honeysuckle, Fuscias, Campanulas, Sweet William, succulents, Hebes and loads of others that I cannot name.
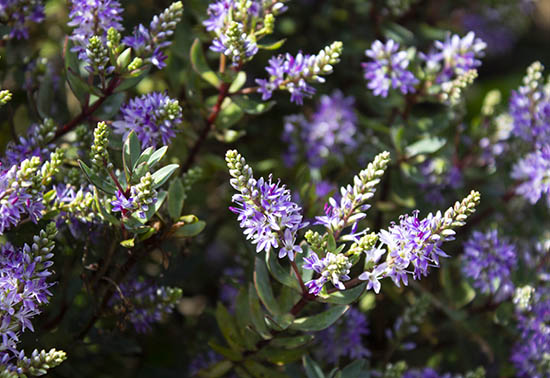
Hebes – coming into flower.
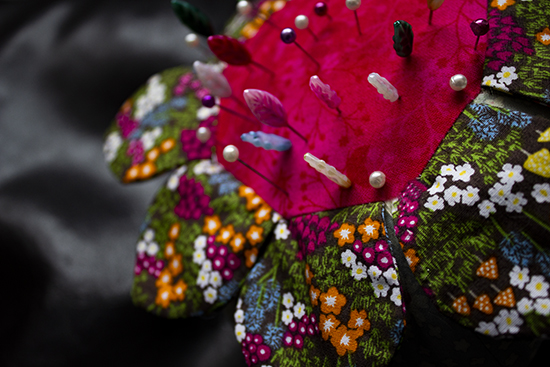
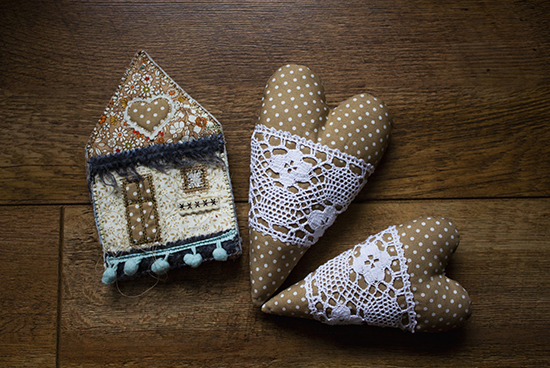
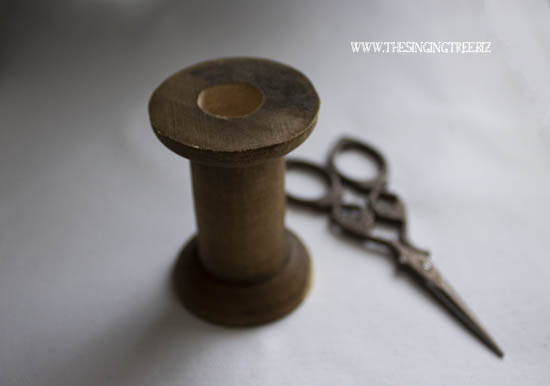
I tidied the sewing room and found several pieces that I’d done on linen that were too small to do anything sizeable with but too charming (IMHO) 🙂 to throw away. Like this one:
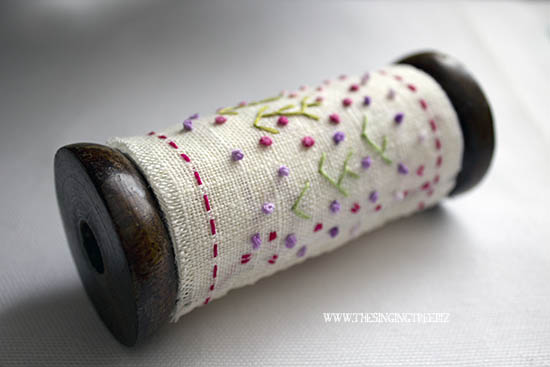
Simple stitches – Fly Stitch, Running Stitch and, my all-time dimensional favourite, the French Knot. The wooden spool had some fancy twine on it once and was a nice thing to keep but very plain once the twine was used up. Now it has a delightful hand-stitched linen wrap – and doesn’t it look well?
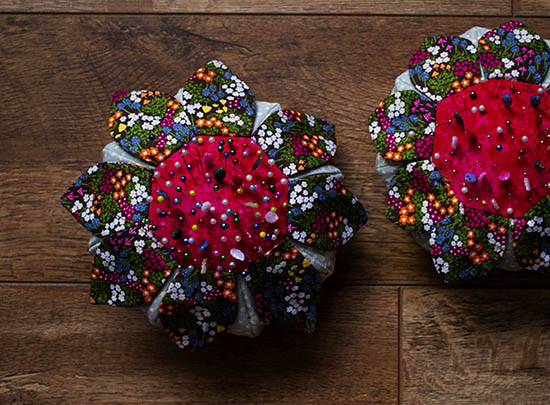
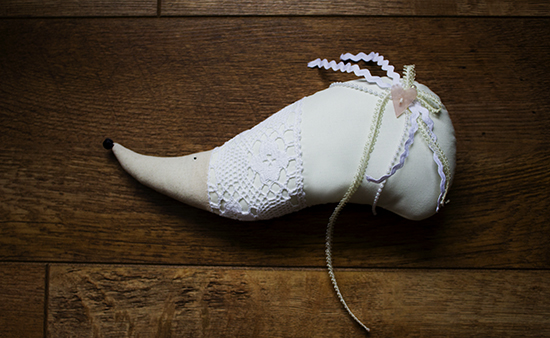
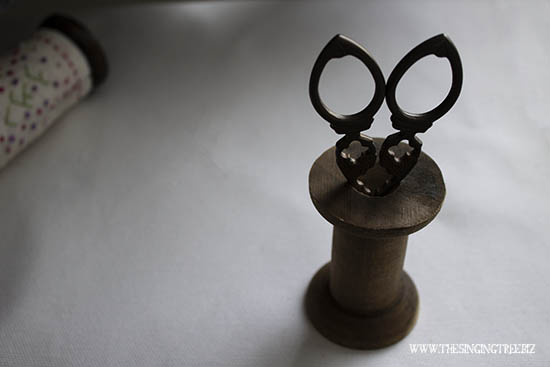
I’ll be doing something similar for this smaller one. I enlarged the hole to sit the scissors in:
**Update**
I was contacted by somebody telling me that the bee is a Wool Carder. I’m not sure but there is a biodiversity site in Ireland asking for sightings of this bee so I’ll send a pic and a few details and find out. Úna FitzPatrick at ufitzpatrick@biodiversityireland.ie