Applique, hand-embroidered Happy Hares cushion

haresAm thoroughly enjoying hand embroidery and made up a small, decorative cushion for a rocking chair.

Am not yet experienced or proficient enough to try bigger expanses of stitches but used Satin stitch, French Knots and Seed stitch here and there.

The appliqué scene is mounted on a medium-weight linen panel (with light-weight interfacing on the back).

The cloud, hills, hares and toadstools are all fabric shapes bonded with Bondaweb, fused to the fabric and stitched around the outlines.

It turned out well and am quite pleased with it.

Applique Hares

hares6

Just sharing a little work in progress here. This is the bottom panel for a small decorative cushion I’m making. The hares are  cut from a wool fabric and appliquéd onto creamy linen.

Using my template again (Bondaweb onto fabric, draw round template, cut out and iron on), I made a start on a panelled piece. It’s made up from oddments of cream linen because I didn’t have any big pieces left. If you pick out one thread and pull it out carefully (ie, don’t let it snap), you’ll get a straight line that you can cut along and keep the bits fairly well squared off. I did this with all four sides on each panel.

I dampened the joined panels and dripped watercolour paints to give some colour-washed areas.

newhares

Crochet curled roses

rosy

These coiled roses use up oddments of yarn and are very easy.

Round 1: Make a chain of around 25 – 30, for  a small one, 30 – 40 for a medium or 40 to 50 for a large.

Round 2: Make a DC into the fourth chain from the hook, then a DC into every chain back to the beginning

Round 3: Chain 2, then * 1 Dc into next stitch, 2 DC into next* to the end of the row

Round 4: Change the colour yarn to contrast with the main colour then * Chain 1, SC next, Ch 1* to the end

Finish off

Curl the crochet into roses and use the yarn tails to weave them into place – all done.

xoxoxo

Sweet Williams

sweetwilliam

I snipped a few beautiful Sweet Williams to bring a little bit of the garden indoors. The teapot is  Polish pottery that has lost its lid.

Before I go, a little story for you. I went for a tinkle only to find a bee in the bathroom (all the windows are open – we’re having a heatwave). I had a wooly-fibre duster to hand and wafted the duster close to the bee and the little bristles on its legs caught long enough for me to poke the duster out of the window and let it fly free.

Still wanting a tinkle, I sat down again only to hear the bee buzzing behind me having flown back in again. Talk about feeling vulnerable!

Anyway, the bee was gently hooshed out again to carry on with proper bee business and leave me to mine. Lol.

Shapebuilder and Pathfinder: create a compound element

Shapebuilder


Do you ever get ratty with the Shapebuilder tool? The longer you use it, the slower and more painful it becomes? Pathfinder is your friend. Download the free PDF tutorial on how to use the Shapebuilder tool and, my preferred method, using functions from the Pathfinder menu.

Tutorial PDF

Baby Bootees

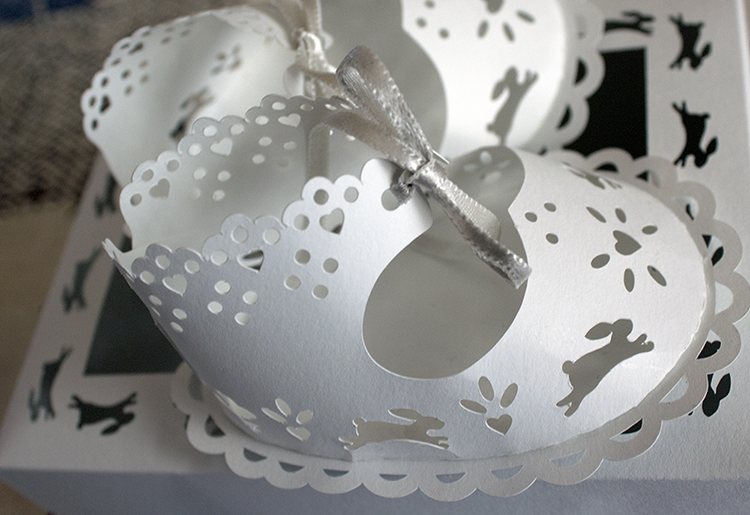
Been busy making some new bootees and made these sweeties with little running rabbits – perfect for the time of year being so close to Easter.

I have the same rabbit theme running (literally, lol) around the top of the box!

The template includes a panel for the aperture (to be cut from acetate or other clear media). I left the acetate out of the box because it makes it  difficult to get a good shot of the bootees inside the box – I always end up with shadows and reflections. A  little tissue paper in the box would set them off beautifully, don’t you think?

They are  little dotes, aren’t they? These are just plain white with a little satin ribbon but could be embellished with pearl beads and other gorgeous things.

A quick close up of the box. The bootees and box are a perfect fit. Not too tight and not too loose. The template includes panel sides, each a couple of mm smaller than each of the four sides. If you make your box from stock that isn’t quite strong enough, you can reinforce them with the panels. This technique offers an economical way of decorating the box with your best paper while using your plainer stock for the box.

Making the bootees isn’t difficult but I have written up step-by-step instructions to ensure first time success and included them as a PDF.

If you’re interested in buying them, they are in my Etsy (Paper Pictures by Ellie Emyn) shop as SVG cutting files.

Thank you for looking.
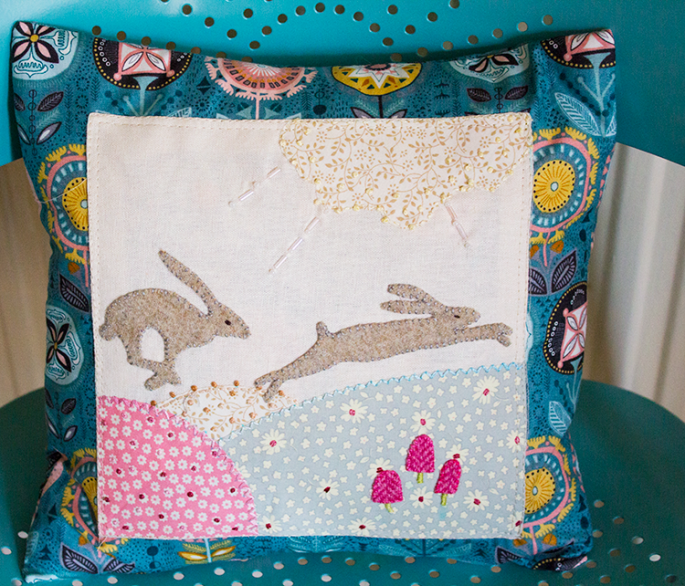
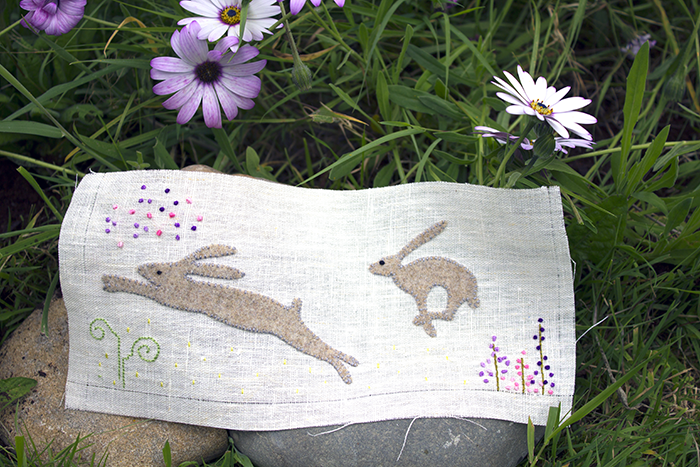
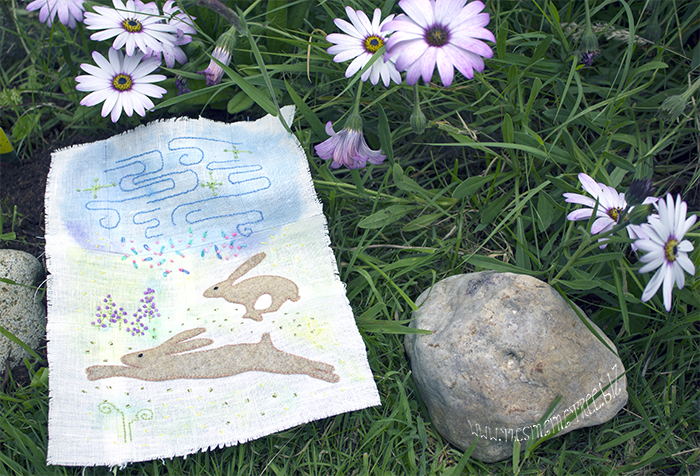