A blog for me, about the things I like. After Effects, Procreate, Illustrator, Photoshop, Drawing, Painting, Paper Cutting, Sewing, Embroidering, up-cycling old furniture. Whatever grabs me in the moment/
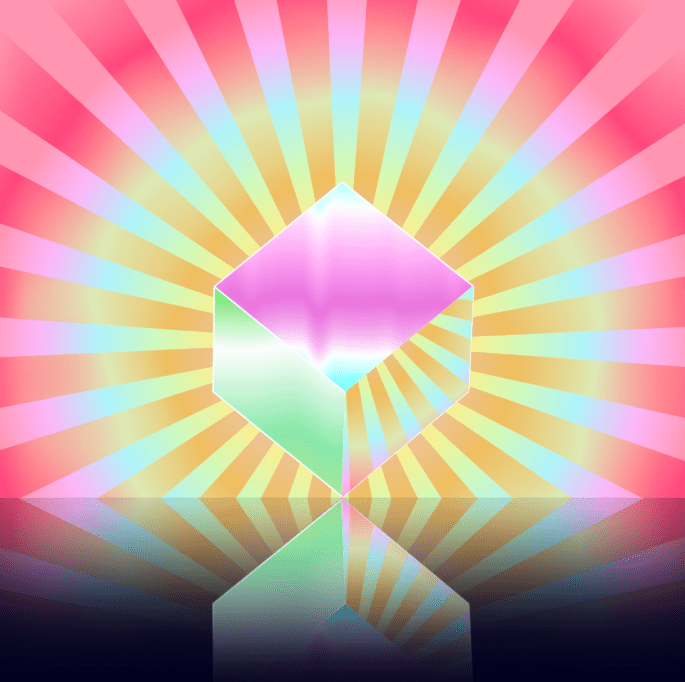
Like the struggle to reach a magical oasis in a desert, Ben Marriott’s spinning cube was a journey worth the effort of making. I was in love with the whole effect and had to know how it was created. And now I know!
This is my version after following his tutorial. It’s glorious.
Wonderwalls
Wonderwalls – not a reference to the Oasis hit, Wonderwall, (which apparently means an imaginary friend who saves you from yourself) – but the planes of the cube with their dynamic effects and my ‘I wonder how he did that!”
I’m determined to do something with this blog, I’m making an effort to add content.
So first off, a Happy Monday to you!
Thankfully, my life has lots of yellow splodges to look forward to. These are highlights I add to my calendar. I like to look at the month ahead and see lots of yellow dates highlighted – they represent fun days. So far I have a couple of ‘posh nosh’ dates with friends, some lunch dates (with friends, not ‘date-dates, iykwim!) and a couple of meet ups and a day out.
My garden is lighting up with happy daisy faces and all sorts of things are blooming and showing off their love of life and colour. The rhododendron bushes are pushing out their pom-poms and cheer-leading joie de vivre in their ostentatious showiness. So many bees are visiting and seeing them buzzing about makes my heart just sing! Mahoosive celebration of loving the life you live. I find myself just drinking in the sheer gorgeousness of it all, it’s so mesmerising.
That crazy lady Marie Condo got into me over the weekend and I sorted out my hot presses. The Irish name for airing cupboards. I now have a big pile of things to donate to Noah’s ark (local animal rescue centre) and have very tidy folded piles of bedding, towels, T-towels and bits and bobs. It is a delight to look at them. A few years back I made heart sachets filled with lavender (allegedly repels moths) and there are several dangling in them. They look so pretty, that despite their scent being long gone, are earning their keep just by being pretty. I’ve come all over a bit Hyacinth Bouquet (or is that ‘Bucket?) and have an inordinate desire to invite the neighbours round for wine and nibbles and private viewing of them.
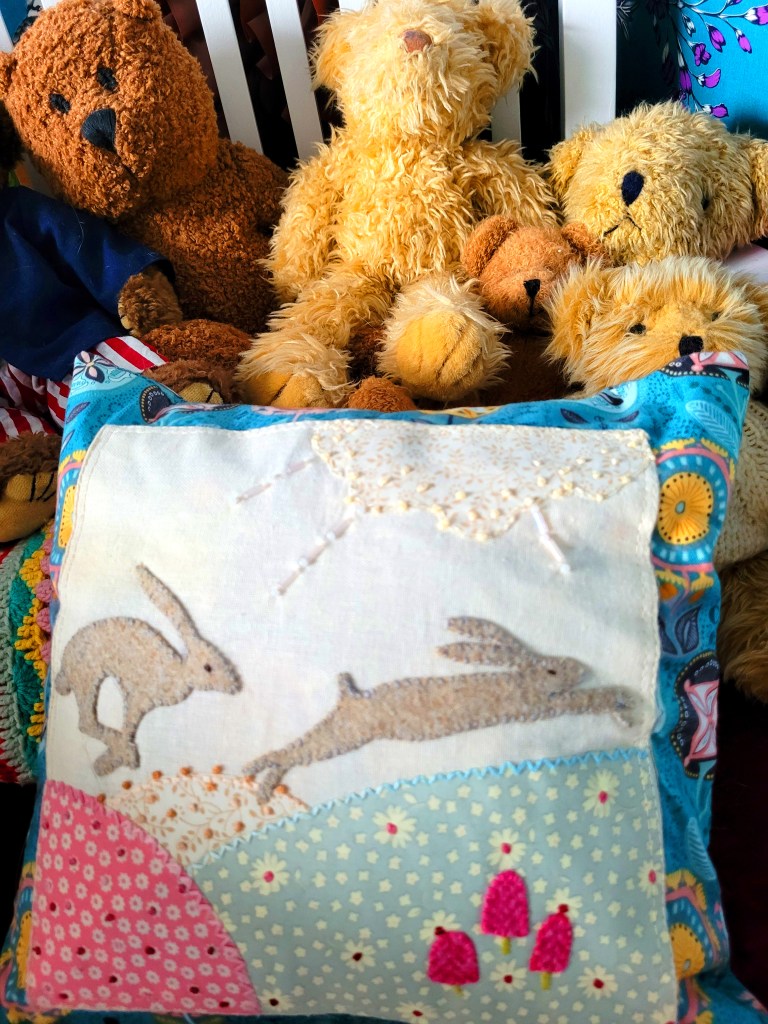
I also found an appliqué cushion that I made yonks back. The hares were applied using Bondaweb then stitched round:
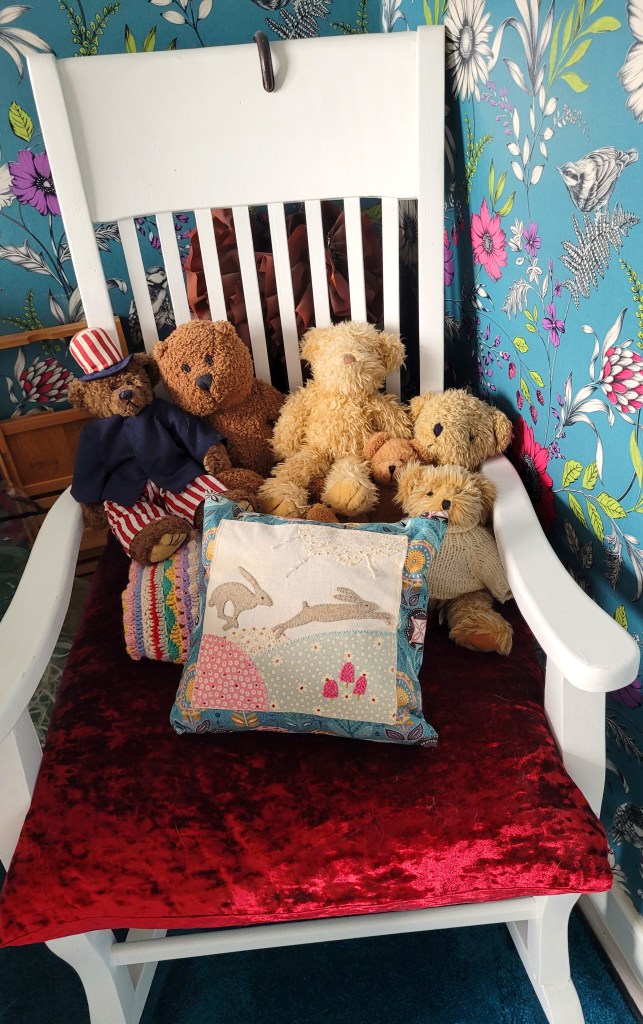
The teddies gathered round to photo bomb the occasion, of course:
Teddy Boys – truly, this is the whole collection. No secret teddy stash.
They are sitting on a lovely rocking chair that I got from a charity shop some time back. It was a bit of a knacker but we repaired it and restored its looks with a fresh coat of paint. Scrubbed up well, eh?!
The velvet cushion was one I made and you can see a glimpse of a ‘confetti blanket’ – a blanket that uses up ends of balls making rows of different stitches. They are the best fun to make and I love them and currently making a big one.
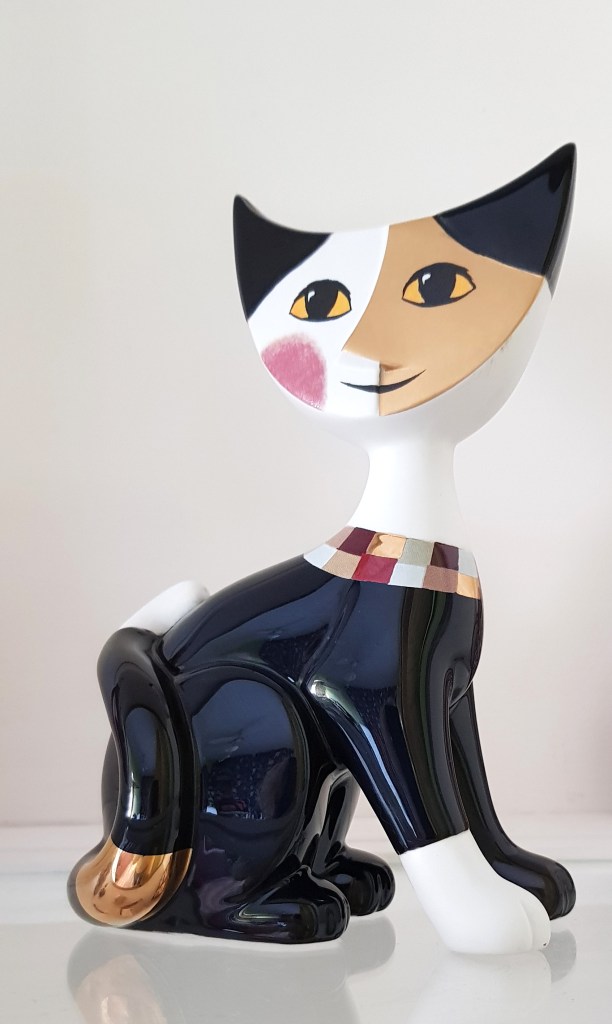
Talking of charity shops, I found this ornament:
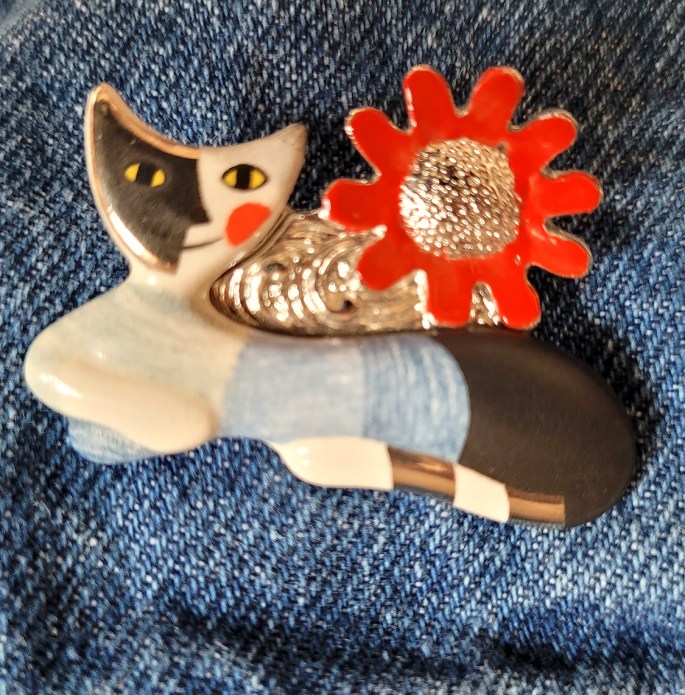
Rosina Wachtmeister
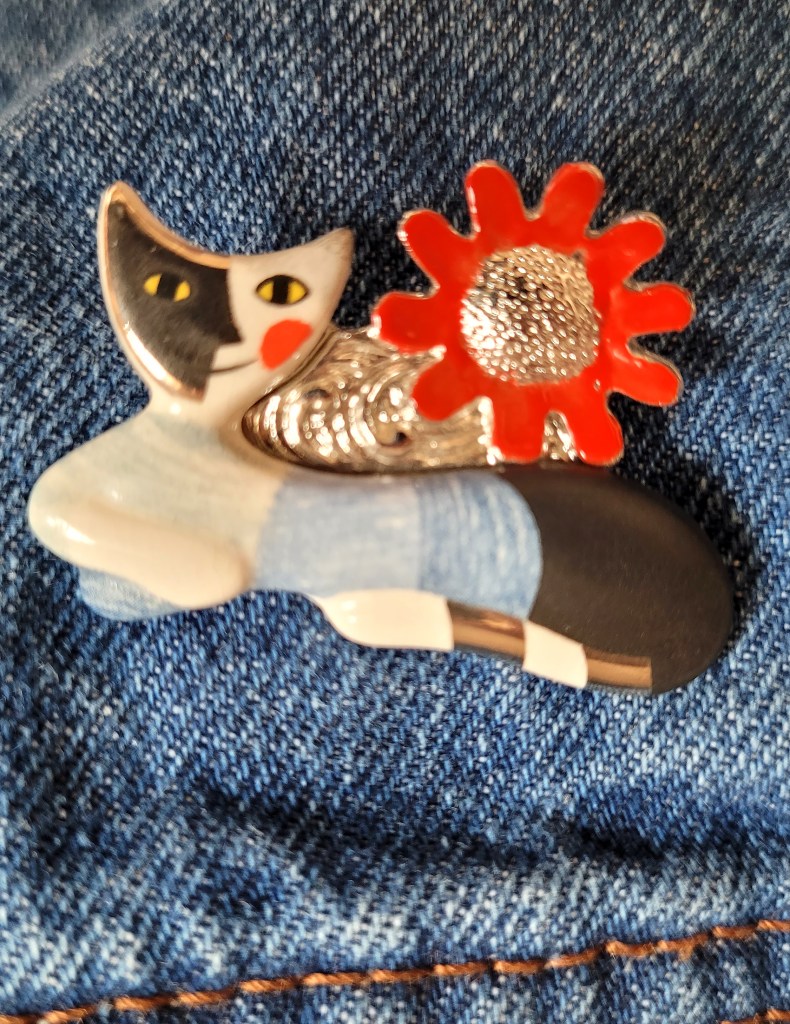
I’ve loved this woman’s cat paintings for years and years. I have images of her prints on all my devices! Then recently, spotted this brooch on Etsy:
It’s now on my denim jacket.
…looking around for more inspiration about things to post… think that’s it. For information, the animated gifs were created in Illustrator/Photoshop and animated in After Effects – joy at my fingers tips to create these things from nothing. I even bought three Terry Runyan books; two are about drawing cute characters… couldn’t resist drawing them digitally and animating them, ha ha!
Wherever you are, hope you’re happy and sending you all a smile from the heart.
I posted this a while ago but it was nested inside a post about something else. This morning, I couldn’t remember the easy way to make puckered stars in Illustrator and went foraging for this cheat sheet. It’s very handy and needs its own page. Here’s the link to the pdf:
My baking mojo has come back after abandoning me for so long!
It all started with 24 lemon cupcakes at the weekend. Best Irish butter, organic, unwaxed lemons, free range eggs (let’s try for happy hens 🙂 ) … of course sugar and SR flour… little to commend them, I’m afraid but they do play nicely with the other ingredients.
Some go into the office with Mr Bee. There’s now a requirement for him to go in once a week after WFH during the Covid years. He takes 10 or so. Six go to my next-door-neighbour. She’s very popular, lots of friends and family visit so a few extra to share with her pals over a cup of coffee.
Mr Bee eats the rest over the week. Not me. Without being too sanctimonious, I rarely eat sugar or processed flour these days. I’ve lost 3 stones since last August by restricting refined carbs (not keto diet) making better, healthier food choices and intermittent fasting. After years of disordered eating, including anorexia and bulimia from my long-ago teens, I have peace. No starvation, craving or bingeing. I’ll shut up in case my halo slips and chokes me.
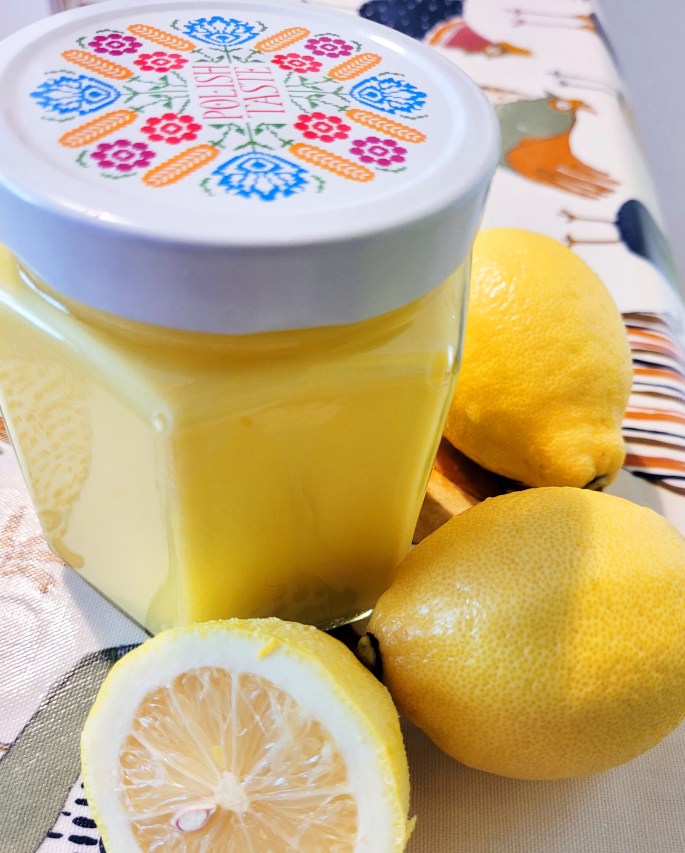
Lemon Curd. Simple, sweet and smooth as silk. Fresh, lemony loveliness! I savour the smell and the process even though I don’t indulge – with not a single pang of temptation! Here’s how to make it.
Ingredients
110g castor sugar 60g butter 5 egg yolks 2 whole eggs Zest of 1 lemon Juice of 3 lemons
Method
Place a bowl over a saucepan (or bain-marie if you actually have one) of simmering water on the hob. Ensure the base of the bowl is above the water and not immersed. You wouldn’t like your bottom sitting in broiling water, would you?
Dissolve the sugar and lemon juice then add the eggs and whisk and stir till perfectly blended then stir and whisk some more… on and off… but more on than off… for 15 minutes. The mixture will thicken up as the eggs cook and will produce the most glorious yellow sunshiny hue.
Take the bowl off the heat and stir in the butter till it’s blended and the mixture is silky smooth.
Pour the mixture through a sieve into a sterilised jar (to sterilise, wash the jar in hot soapy water, rinse and pop in oven at 160 for 15 mins).
I use a riddler to coax, push and pummel the lemon curd through the sieve. A riddler is a knobbly-ended implement that makes this little job … rewarding …. in some strange way. If you don’t have a riddler, a spoon will do the trick.
Finally, gaze at your jar of sunshine and just enjoy the moment.
Mr Bee will eat it with ice cream, on bread and, if there’s any left, I’ll be making another batch of lemon cupcakes and giving each one a squidge of lemon curd. Use an apple corer to bore out a well from the top of each cake; fill a piping bag with some curd, snip off a corner and pipe it into the cake well. Lemon cake wells…. ha ha.
Happy days to anyone who might be reading this and a warm Hello from me in (chilly today) Ireland.
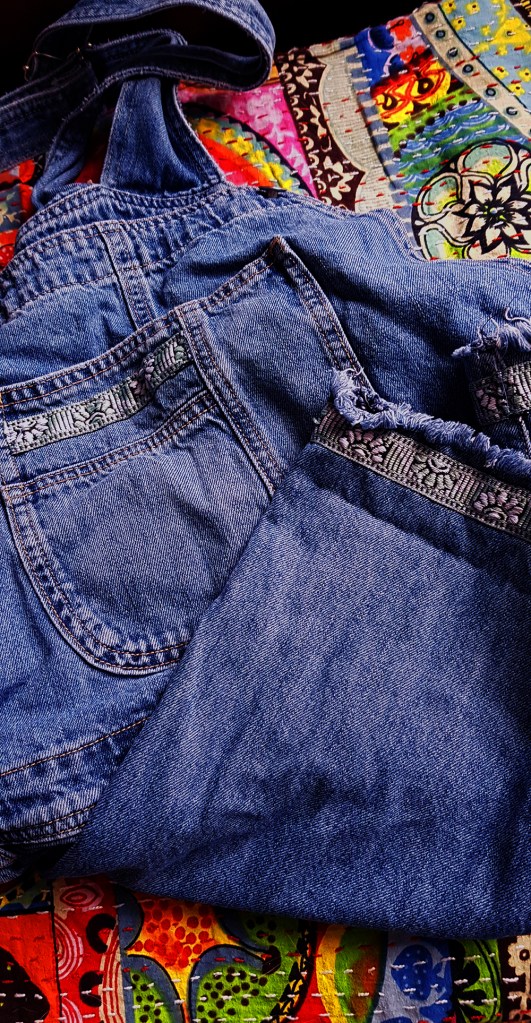
These are my lovely Tesco Tearaway dungarees; nice but dull. I was getting bored with them. Yesterday, I chopped the hems off, stitched some braid around the bottoms and added a little trim on the bib. To finish off, I got out a fat darning needle and frayed them. Fun for round the house.
Oh so boho.
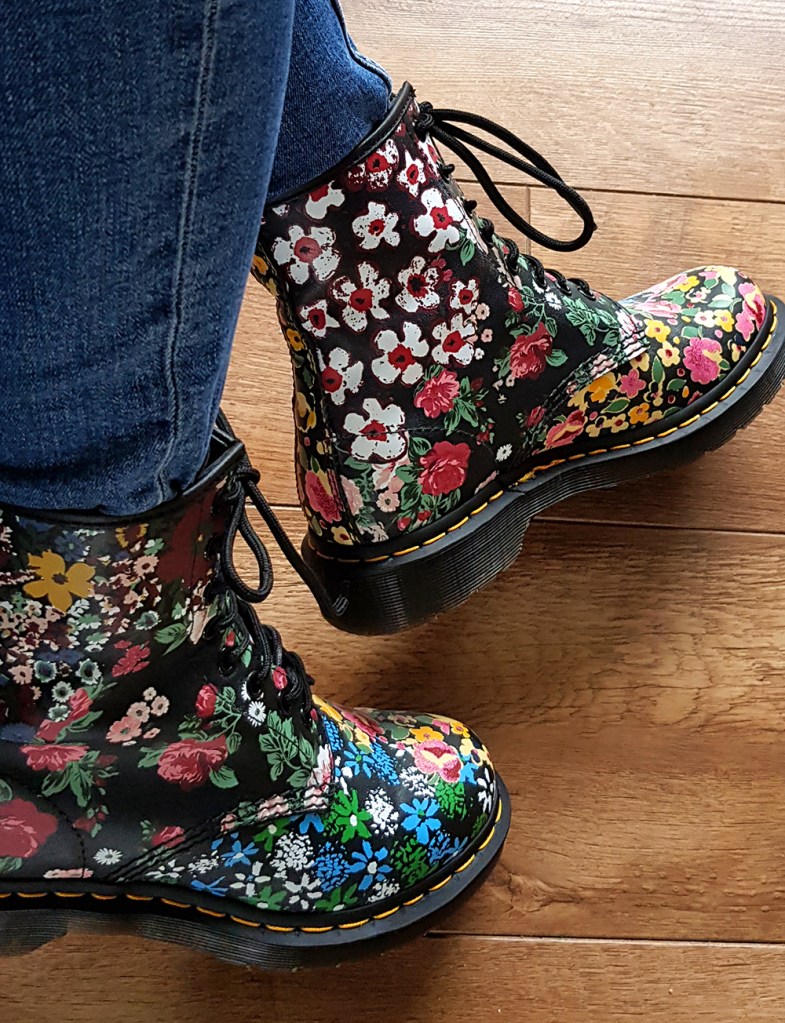
I finally indulged myself with a pair of colourful DMs. Very happy feet.
They will take a lot of softening up…
Hope you have a happy Easter and a break from work to eat lots of chocolate and watch a Bond movie. Seems to be a bank hol staple in UK/Ireland.
Moser Roth. My favourite chocolate. Bugger the diet.
After Effects treats text as a bunch of vector shapes that can be animated like any other vector shape – which makes the Text Animators in the app powerful little buddies.
I’ve written down the steps to create the animation above. It’s cute. Use your imagination to set up the scene as you wish. These instructions are just about using the text and text animators.
Okay… let’s begin. Create a New Comp and import your background files to set your scene.
Type in text, eg, ‘Motor’. I used Azo Sans, a free font. Give its a fill colour (swipe and copy the hex code for the colour) and a black stroke.
2. Twirl Down the text layer
3. Select Animate>Position
4. Change the Position on the Animator, eg, change the value on the x or y (or both) values for the position
5. Open Range Selector 1>Change units to Index
6. Set the Start to 1 (the number of characters in the word ‘Motor’ is 5 but the character count starts at 0, ie, 0 = M, 1= 0, etc)
7. Set the End to 2 (the T in Motor)
8. Add a second Selector Range
9. Twirl Down Range Selector 2
10. Again, change the units to Index
11. Set the Start to 3 (the O) and End to 4 (the R)
12. Set the Position on the Animator back to 0
13. Set Playhead to 1s
14. Click the stopwatch to keyframe it
15. Move forward to 1.5s
16. Change the Animator Position on the Y axis to drop down the ‘wheels’
17. Add Property>Fill Colour>RGB
18. Keyframe it and set the Colour to Black
19. Hold down CMD or Ctrl and press the Left Arrow twice to move back in time a couple of frames
20. Set the Fill Colour back to your original text colour – double-click the colour swatch to display the hex panel and paste in the text Fill colour. This prevents a transition or gradation from your fill colour to black.
21. Select the Text Layer and press P to select the Position properties and animate the text off screen as you wish.
22. F9 all the keyframes and tweak the Speed Graphs as you like. Add some Motion Blur if you want to indicate more speed. There is lots you can do to enhance the final render.
There you go! Just have fun and enjoy playing with the settings for different effects.
The blog has been neglected for a long time now and I was going to let it die off and start afresh with new name, site logo, etc. Despite cancelling WP account and payment authority, it all got reactivated, reinstated and the funds were drawn down. So the blog lives on for at least another year. Rather than waste money, I’ll make use of it.
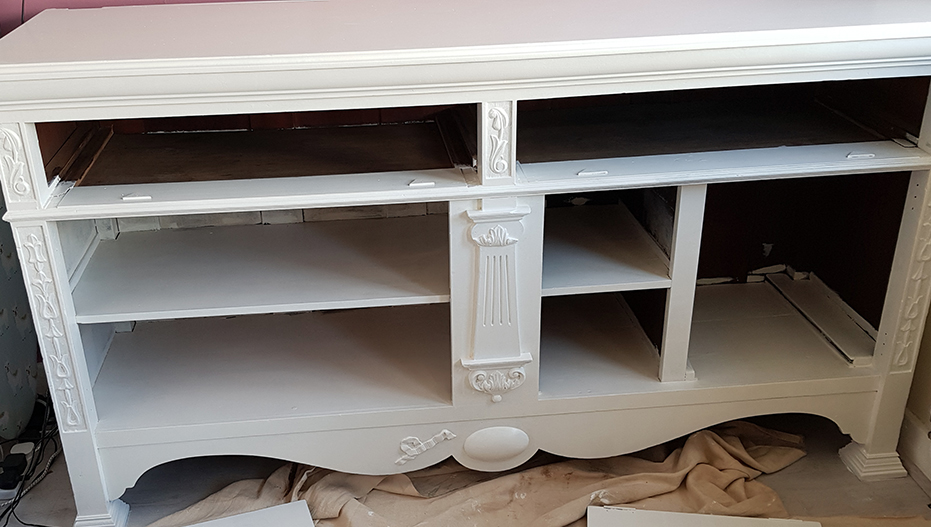
No tutorial today, just a glimpse into a personal project and passion of mine – making over old furniture.
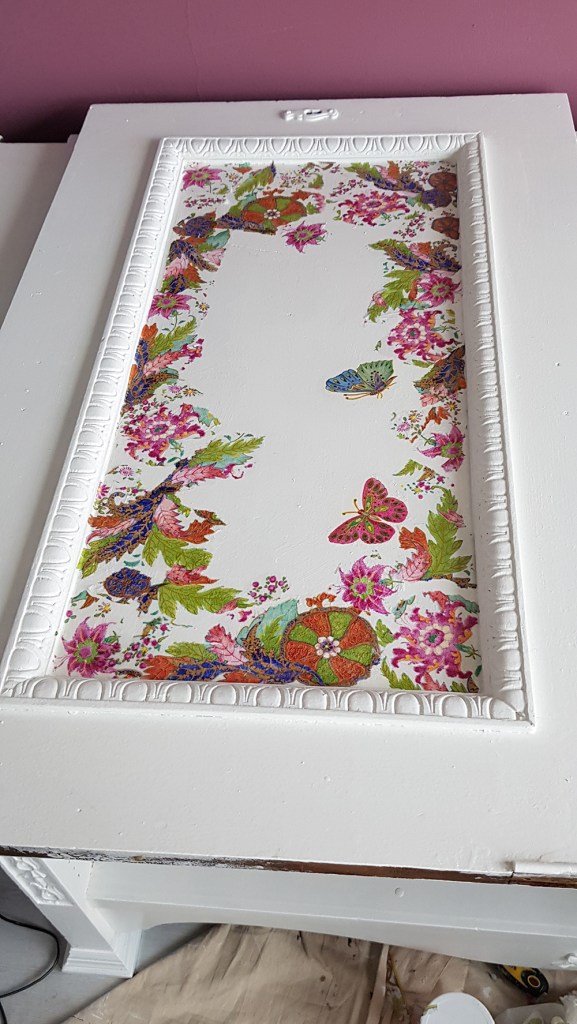
Typical old, dark sideboard from a granny house. Two-door, two-drawer, solid and strong. No pictures of it in original state but was skanky, manky, dirty and nasty. Cleaned up well and given first coat of off-white satin paint. Husband, Mr Bee, does the painting. Not me.
This is a pic of one of the doors. I used paper napkins and Mod Podge to add some colour and decoration.
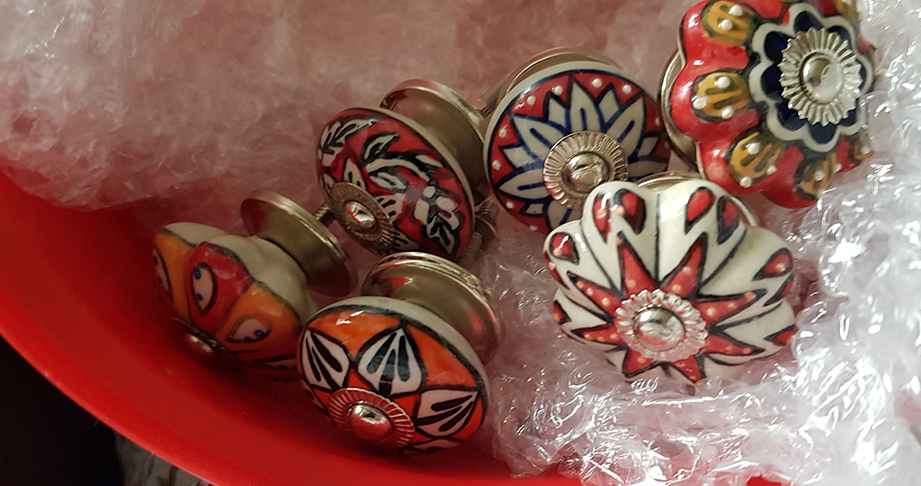
Some of my knob collection. for the doors and drawers, obviously. Well, hardly use them as lampshades, would you?!
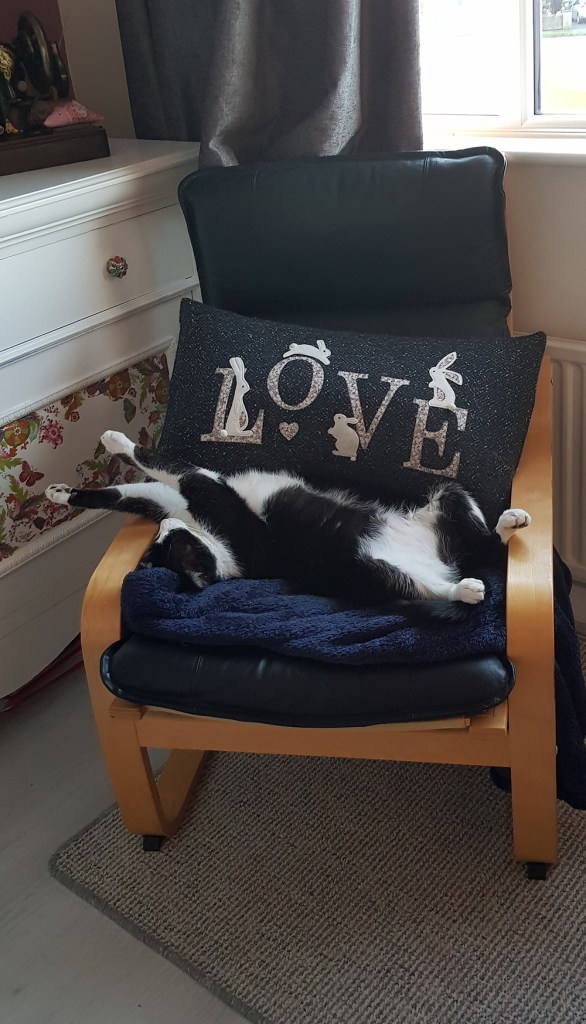
Here’s Charlie Chops (aka Lord Charlie Chops of Chopstown Manor. An aristocat who fell upon hard times, lost his top hat and cane but still appreciates the finer things in life and makes do with us until his fortunes are restored). Charlie is earning his keep by pointing at the knob in situ. Good lad. There’ll be some fishy reward for him for this. What do you call a fish with no eyes? …..Fsh!
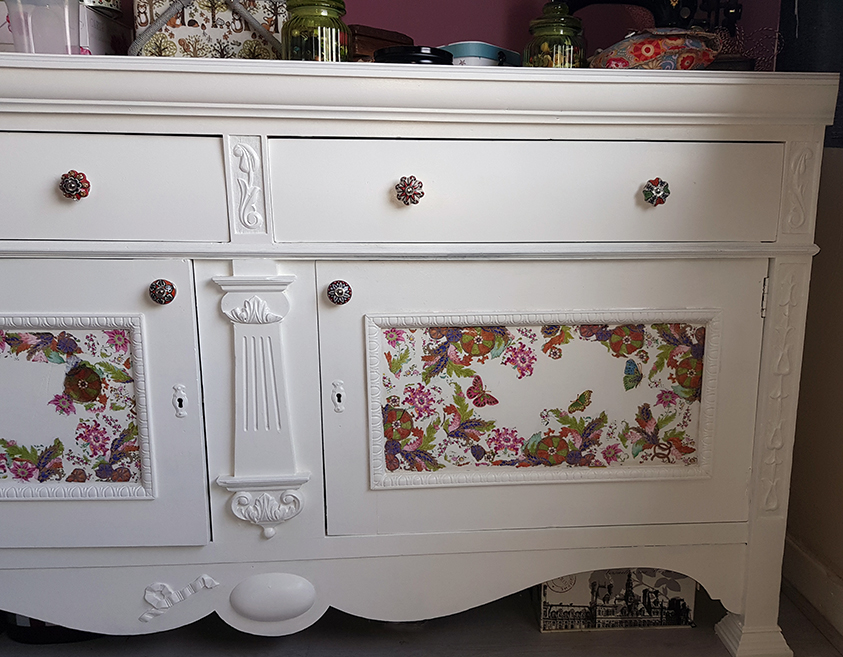
All done and put back together.
It’s in my sewing room.
Similar technique used on an old blanket box. Paper napkins and Mod Podge.
You can see I like colour and surface design.
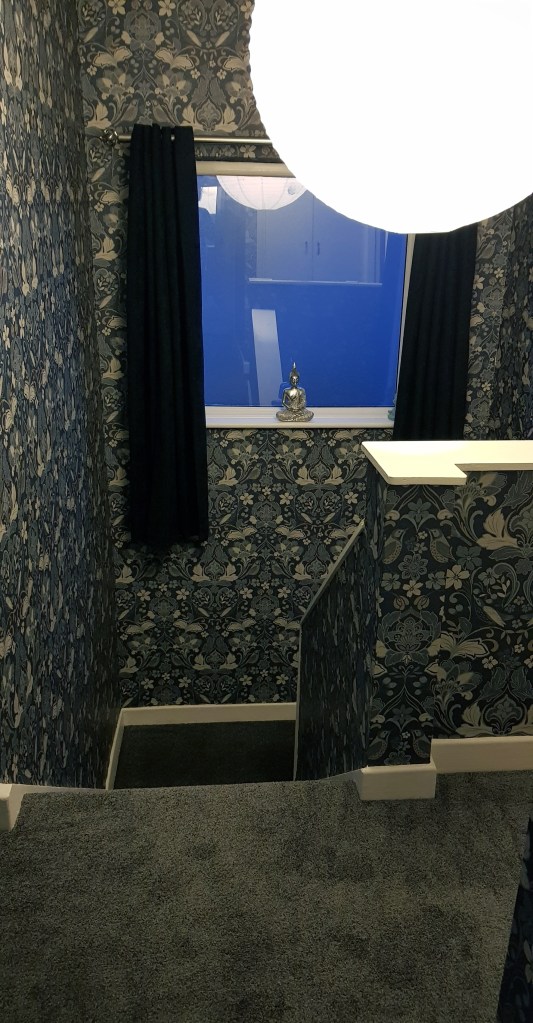
Just before Christmas we had the landing, stairs and hall papered, painted and had a fresh new carpet for the cats to scratch up. It’s as Art Nouveau as I could find without paying extortionate William Morris prices. More pattern.
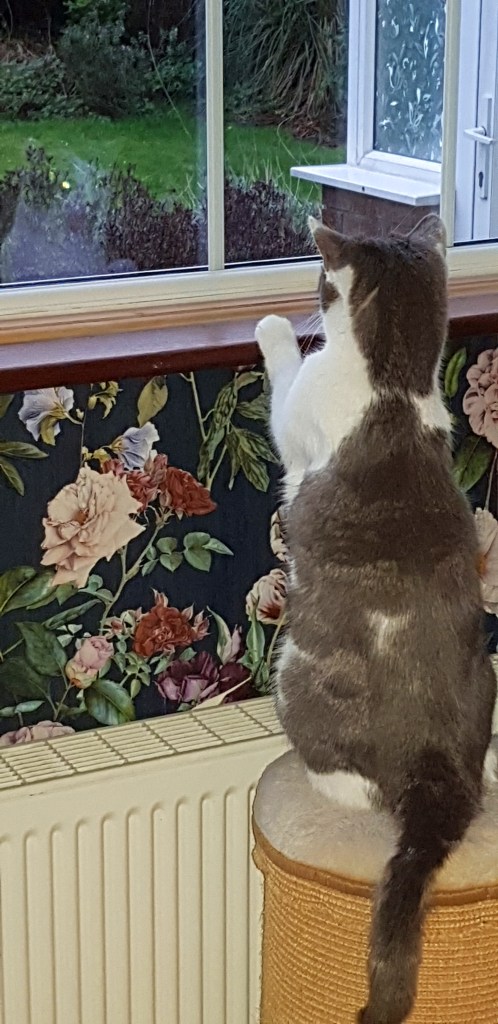
Gracie Mae watching Cat’s TV.
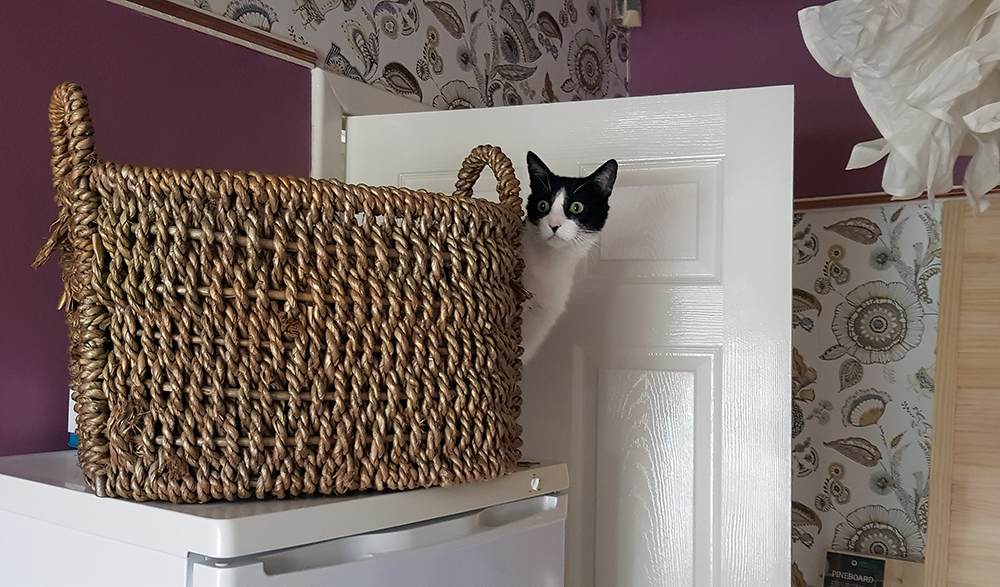
Charlie, looking uncharacteristically spooked. He must have thought the bailiffs were after him. He’s the most laid-back cat I’ve ever known. Loud noises, crashes or even the dreaded vacuum cleaner, barely disturbs him.
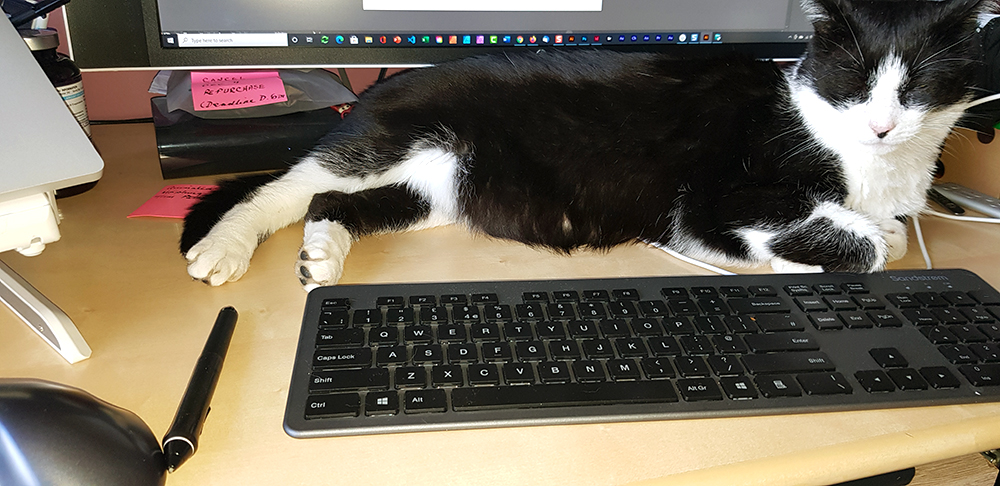
Nothing tires him out more than watching people work. Hairy keyboards are a feature in my office area. Cat hair cushions the fingertips and prevents finger-impact injuries. Quite thoughtful, actually. Thanks, Charlie. Check out his little black toe beans!
We have another lovely cat. Jess (or Jessie James – quick on the claw). Like the other two, Jess is a rescue cat. She is beautiful and I love the bones off her. It’s taken years of quiet love and reassurance to stop her screaming at us like a banshee from under the table, under the bed or on top of the kitchen cupboards.The skin she can flay with a single swipe. If only she specialised in wallpaper removal. Faster than lightning. All fear-based triggers, sadly.
Mr Bee has been bloody amazing. He picked her up and hugged her despite virtual evisceration as his reward. Permanently scarred, physically, but undeterred, emotionally, he was positive he’d win her over (even his blood group is B+). And he did. She still gets a bit trigger happy, but it’s Paws not Claws these days. Usually. Unfortunately, of all cats to get diabetes, it would be Jess. Twice a day I have to inject her with an insulin pen…. and hold it in place for 10s. My life flashes before my eyes in those 10s…
Finally, thought I’d share my robot build MP4 with you. I’ve been using animation techniques in my work role and home projects for several years now but still take occasional refresher courses on Udemy, Domestika, and keep up-to-date following the wonderful tutorials on YouTube…
Robots appeal to me – maybe robots are simpler to me than human beings. My ADD brain fries trying to work out how to decipher human interaction and think how to respond appropriately. Masking, I think it’s called. I’m pretty good at it now but social chit chat makes me feel gauche and wanting to poke my eyes out with knitting needles or bite my feet off…
Anyway, old-school robots are a thing with me and I collect them a little bit. The robot in the MP4 is based on a ‘How to draw a robot’ on Wiki How. The background is one that came with a Udemy AE course I took a while ago with Louay Zarambakji (wholly recommend his masterclass, btw). I took it into PSD and applied a ‘Glowing Edges’ filter to switch it up a bit.
All simple stuff using regular PSR but part of a sub-comp for something else. The robot was created in AI, all animated elements saved to a separate layer, etc, etc, etc. If you animate, you know this stuff.
Don’t we all have an inner child that sees magic in glittery sparkles streaming across a screen? Just for a second, don’t you feel the love? Everybody loves sparklers!
I’ve put together a quick learning video with everything you need to make sparkle paths using Adobe After Effects.
I give you the easiest, most straightforward way to make your motion sparkles without any unnecessary filler. You can add your own magic later!
Here’s mine. Simple but so pretty.
And here’s how.
You could draw the path in, say, Illustrator, and Copy>Paste into Aep onto a new Shape Layer and then copy the path from the Mask Path option from there to the Null Layer.
Hope you found it easy to follow and will go on to make many a beautiful sparkle stream with your magic!
Have you ever watched a tutorial and felt a bit peed off when there was an animation that just wasn’t explained? An effect that just ‘made’ the whole thing? This happened to me when I saw the intro to a tutorial that included an uphill wobble effect that displayed some text as it moved.
I stumbled on the original You Tube just recently and worked out how it was done. It’s dead easy and I’ve put together a short tutorial for you.
It was done using an Alpha Matte. An alpha matte is placed below a layer to act as a mask (note it will use any pixel above 0% opacity). I created the shape above in Illustrator to animate the wobble-in.
And that’s all there was to it.
Hope you found it easy to follow. 🙂 (You may have to turn on HD display mode).