
Another colourful tutorial, this time from Free School Graphic Design.
I call it ‘Buddleia’ circle cos it looks like a circle of blooms from the butterfly tree to me. Change the fill from solids to gradients to change the look.


Another colourful tutorial, this time from Free School Graphic Design.
I call it ‘Buddleia’ circle cos it looks like a circle of blooms from the butterfly tree to me. Change the fill from solids to gradients to change the look.


Free School Graphic Design Tutorial
The sphere above is fairly quick to do – the tutorial uses 3D revolve and mapping art functions as well as the nifty Pathfinder.
When I set up my rows (then groups) of circles – the art to be mapped onto the surface of the sphere I did mine differently to the tutorial (link above).
I used the:
Ellipse tool to create a circle of 25pt. and the Transform Each (Object>Transform>Transform Each) to create a copy offset by 5pt horizontally (enter 30pt in the horizontal setting to allow for the circle and the space between) then Ctrl>D to duplicate to create a row.
Group the row of circles and go back to the Transform Each option. Change the horizontal value to 15pt and the vertical offset to 60pt.
Group them all together and duplicate the double rows till you have plenty to make the Symbol which is used as the artwork to map onto the sphere’s surface.


The effect above is a simple and quick one to create using Illustrator.
All you need is an ellipse, a gradient and the Transform Effect tool. I don’t have the latest version of Illustrator but know the Transform Effect tool is available in CS6 and earlier. Hopefully, whatever version you’re using, you’ll be able to follow the tutorial and have fun with it.
You can download the free tutorial here:


Here is the latest design finally all cut out. The paper is 180 gsm, acid-free, cartridge paper from Canson. Luckily everything held together and I didn’t have to re-do it all.


Another ‘L’. I always design in Illustrator and fill them with colours. I wish I could get decent coloured paper to actually cut from.


This Digital Particle Waves tutorial is featured on blogspoongraphics. The tutorial is well-documented and easy to follow (as always :)).
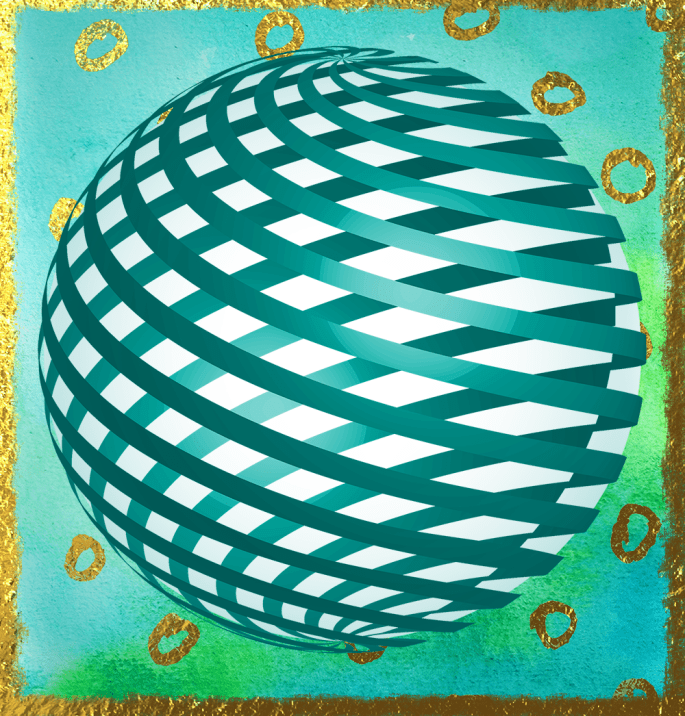

Here’s a tutorial on how to create a 3D object in Illustrator and map some art work onto it to produce a sliced orb effect.
The one is the image above was made slightly differently to the one in the tutorial – I created about 15 rectangles, increased the Shear value to 20º and drew a wrapping rectangle that caught the top of the sheared rectangles on the right and took it down so that it ‘trapped’ whole rectangles instead of catching chopped off ends.

It rendered better. The principles are the same 🙂
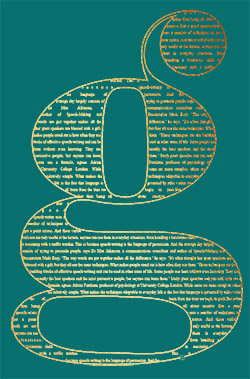


There are times that you want to fill a shape with text or use a letterform as a text container. The letter ‘g’ I’ve used here is from the font family (Pistilli).
I’m detailing the steps for using text as there are some small issues to be dealt with but the principles are the same.
Filling a letterform with text in Illustrator is easy enough when there are no inner shapes to deal with, eg, the letter ‘T’. Then simply go to Type>Create Outlines and use the Area Type tool to type or paste some text into the outline of the letter.
Things get a little peskier when there are inny-bits! It’s not difficult though but you have to deal with compound paths and text wrapping – and creating a separate outline to finish it off.
I’ve written an Illustrator tutorial in lots of baby steps with screen grabs to help even the most inexperienced Illustrator user – download the Text In Shape tutorial here:
I hope it comes in useful for you.
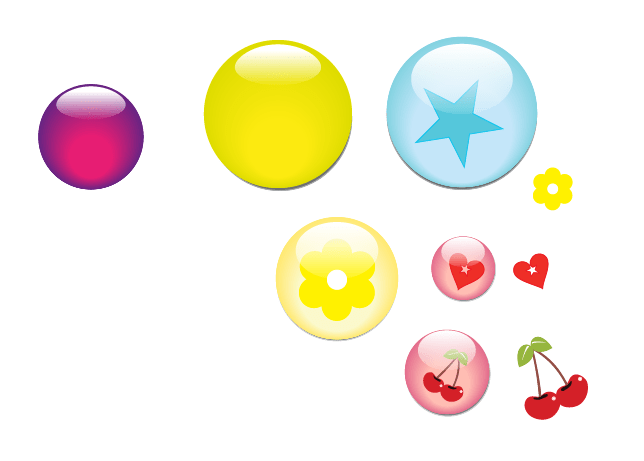

These glossy buttons are very easy to make and quick to do. I’ve written up an Illustrator tutorial and set out the step-by-step instructions for you. Feel free to download it here:

Do you ever get ratty with the Shapebuilder tool? The longer you use it, the slower and more painful it becomes? Pathfinder is your friend. Download the free PDF tutorial on how to use the Shapebuilder tool and, my preferred method, using functions from the Pathfinder menu.
