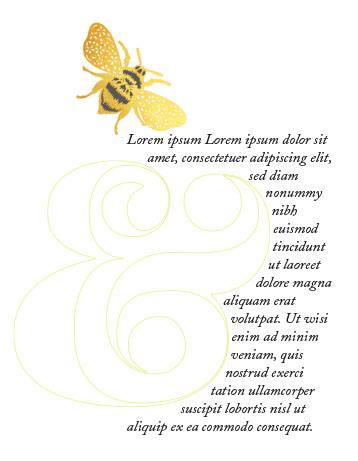
Use a text wrap to create a pretty visual effect as part of a layout. If the page lacks colour, you could also use a clipping mask to display some colourful graphics through the outline of a shape. I’ve used a lovely curvy ampersand to show you how I created the image above.
Today ‘s tutorials are quick and easy techniques for filling in Illustrator and Photoshop text with background images.
Illustrator
Create your text. I’m using Cooper Black.
Place, Copy or Import the image you want to fill your text with.
Embed imported or placed graphics.
Send the image to the back of the text (both are on the same layer): Object>Arrange>Send to Back.
Select the text and image then go to Object>Clipping Mask>Make.
Go to the Properties menu and give the text a stroke to define it clearly as the action of creating a clipping mask will have removed the text fill and stroke.
Photoshop
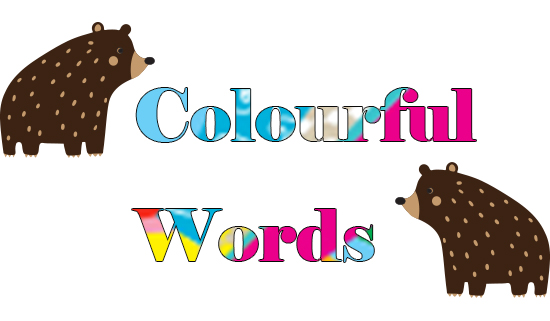
Type your text. This time I’m using Elephant. The bears are just for fun and not part of the technique 🙂
On a separate layer, create, place or import the pattern / image to fill the text with.
This screen shot below shows the layer order: Graphics layer above the text layer. The bears are on a separate layer.
Alt-Click between the two layers, ie, on the dividing line between them.
Double-click on the text layer, select Stroke>colour and size to apply to the outline of the text to define it.