Create a Wobble-In Text Animation with After Effects

Have you ever watched a tutorial and felt a bit peed off when there was an animation that just wasn’t explained? An effect that just ‘made’ the whole thing? This happened to me when I saw the intro to a tutorial that included an uphill wobble effect that displayed some text as it moved.

I stumbled on the original You Tube just recently and worked out how it was done. It’s dead easy and I’ve put together a short tutorial for you.

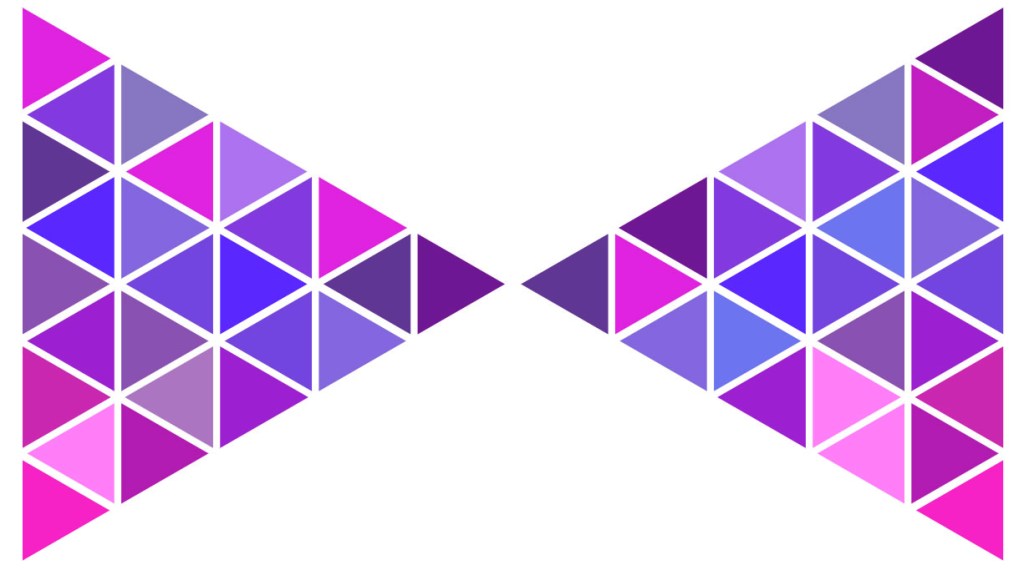
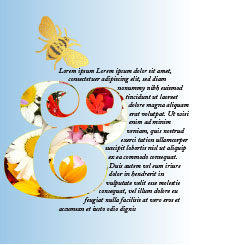
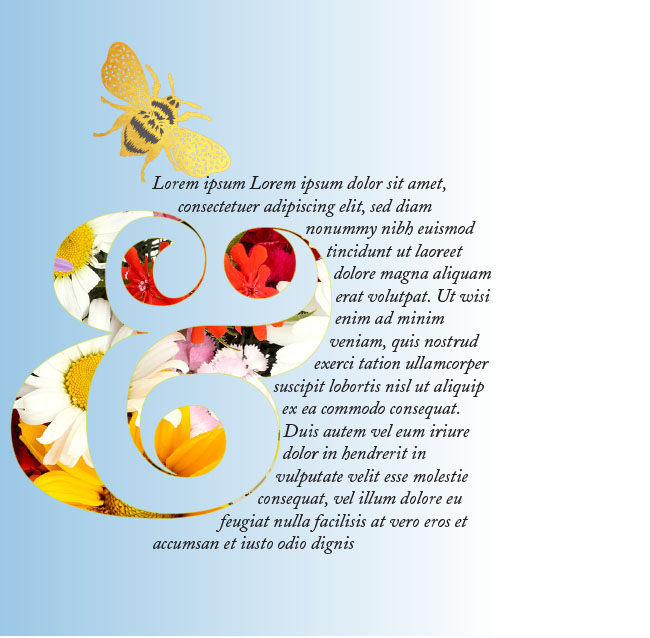
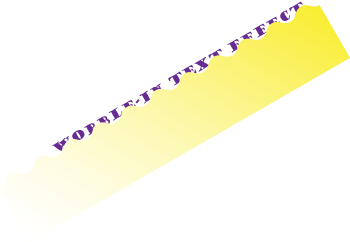
It was done using an Alpha Matte. An alpha matte is placed below a layer to act as a mask (note it will use any pixel above 0% opacity). I created the shape above in Illustrator to animate the wobble-in.

And that’s all there was to it.

Hope you found it easy to follow. 🙂 (You may have to turn on HD display mode).

Create an Ikigai Venn diagram in Illustrator

The Japanese philosophy of Ikigai is the pursuit of happiness through being busy in a way that brings meaning and joy to your life.

If you know there is a passion inside you and a talent that gives your life meaning but don’t yet know what your Ikigai is, then your mission is to find it.

When you find joy in something meaningful to you and you’re good at it, you have found your Ikigai.

If you Google Ikigai you will frequently find the defining principles for determining your Ikigai depicted by a Venn diagram. Intersections denote shared or common attributes, the central one being the sweet spot, your Ikigai.

Here’s how to create an Ikigai (or any!) Venn diagram and be able to colour individual segments quickly and easily. Download the pdf here:

Create a Celtic Knot with Adobe Illustrator

Today I’m going to show you how to create a ‘triquetra’, also known as a “trinity knot”, a popular design element in Irish jewelry such as Claddaghs and wedding or engagement rings. Like all Celtic Knots, it’s comprised of interwined loops and lines that may look difficult to reproduce. Illustrator has the tools to make it an easy task.

Get the pdf tutorial here:

Create a Bokeh Background with Illustrator and Photoshop

Today’s tutorial walks you through the process of creating a gradient mesh in illustrator to make a coloured backdrop. It then takes you through the steps to make a bokeh brush in Photoshop and how to apply bokeh over your backdrop. Create a beautiful background image suitable for loads of different applications.

The free pdf tutorial is here:

Make a ‘jigsaw’ pencil using Illustrator

We’ve all seen those super infographics where shapes are broken into jigsaw pieces to denote stages in progress, etc. They can fool you with their seeming simplicity but there’s a bit more than meets the eye. Learning the techniques is worth a little bit of effort and I’m sure you’ll come up with brilliant designs that use the principles to convey information in a compelling way.

Today I’m giving you a three-in-one tutorial.

  1. Make jigsaw pieces
  2. Make a pencil
  3. Create a rainbow brush

The tutorial is fairly long mainly because I’ve taken screen shots and documented each step. If you’re familiar with Illustrator you might find it a bit pedestrian but if you’re just getting going, there’s lots of things to learn in a friendly way. 🙂

Use a Photoshop mask to put text behind an image

Jessie

This is Jess. She developed diabetes early last year and it’s taken a lot of experimentation, a couple of changes of insulin and various dietary changes to get it under good control.

She’s now a new woman. Still feisty with an attitude you can hang your coat on and still loves a fishy supper. Charlie calls her ‘the one with the breath’ but not so as she can hear him…

She’s my sweet girl and though she’s calmer than the fearful rescue cat from a few years ago, and she’s more Paws than Claws, I’m still careful around her. We love her to bits and after being with us 6 years now, this is her forever home.

Down to business. Look at the image and you’ll see the text goes between her and the background. It’s actioned with a simple masking technique in Photoshop. If you want to know how to do it, download the pdf for the instructions:

Clipping mask & text wrap in Illustrator

Use a text wrap to create a pretty visual effect as part of a layout. If the page lacks colour, you could also use a clipping mask to display some colourful graphics through the outline of a shape. I’ve used a lovely curvy ampersand to show you how I created the image above.

Download the tutorial to do it yourself:

Create a seamless repeating pattern swatch with Illustrator – the easy way

Today I’ve written a tutorial to show you how to use Illustrator’s Pattern making function. It’s beautifully quick and simple – totally pain-free.

There are links to a tutorial to create a recycling symbol as well as a nifty way to make a quick heart.