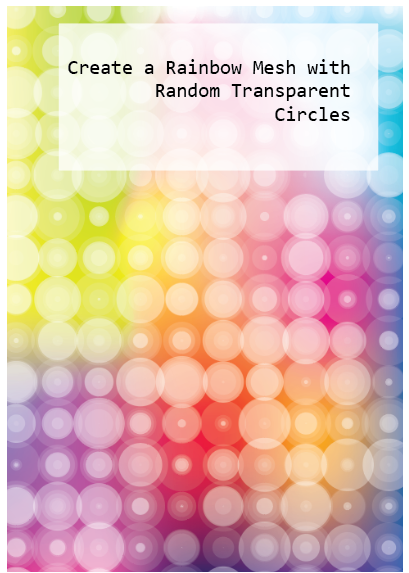
How about a Rainbow Mesh overlaid with circles of varying transparency? It has vibrancy, lots of colour as juicy as you like, and offers a refreshing antidote to the grey feel of last year. You can work this up to fit in with loads of design applications. Colour yourself happy 🙂
It looks like it’s a lot of work but it’s really easy to create and edit. I’ve written up a pdf tutorial for you here:
Inspiration for graphic design is everywhere but sometimes our enthusiam gets damped down with decision fatigue or deadline pressure. We all want to produce something creative, something to give the eyes a real feast. And show off our skills.
Today’s tutorial will give you all that and more. It shows you how to use the Blend Tool and make friends with the Envelope Distort Mesh monster 🙂 It also shows how easy it is to create glowing particles and save them as Symbols. All in less than 30 minutes. Promise.
This effect uses Transform & Distort, Live Paint and Pathfinder functions. Change the palette to change the mood and experiment with different effects and change it up to suit yourself. 🙂
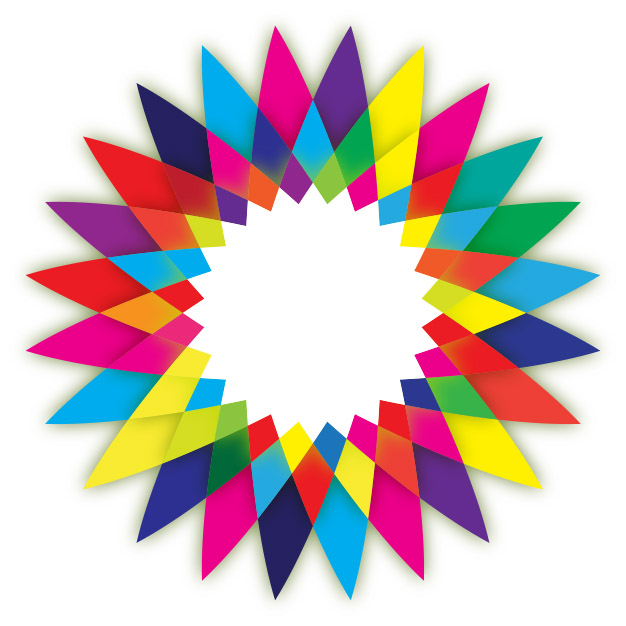
Sometimes you need to be able to define the angle of a circle segment. Trouble is, in Illustrator, circles are not true circles; they are ellipses shaped into circles with bezier curves.
I have written a tutorial detailing the two methods I use to define the angle of a circle segment. Download the tutorial here:
Illustrator, unlike Photoshop, doesn’t have dedicated contouring capabilities. This tutorial shows you how to achieve embossing effects without having to open up PSD and rasterizing your work.
You can apply the effects on shapes, including text, and you’ll be pleased to find that even after ’embossing’ your original graphics remain editable.
To finish off, it also shows you how you can save the effects as a graphic style to use in future projects.
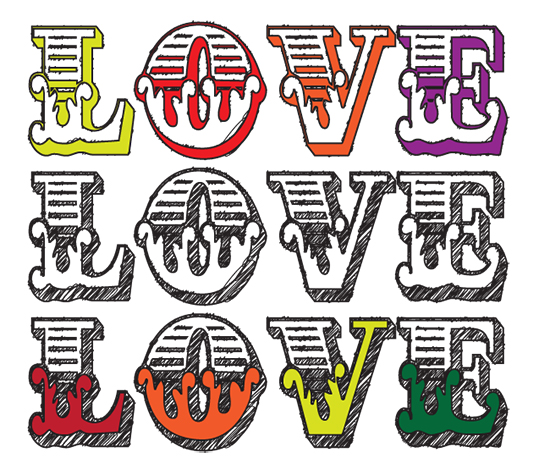
This tutorial is about how to turn a font into a hand-rendered effect font and how to fill selected elements within the font with colour or gradients.
1. Open a new document in Illustrator. The size is up to you.
2. Type in some text using any font you like. I can’t remember which font I used here – I think it may have been Circus or Cast Iron.
3. With your text selected, go to the Swatch palette and remove the fill and stroke.
4. With the text (now invisible) still selected, go to: Window>Appearance and click the little group of horizontal lines on the right to display a drop-down menu. Select Add New Fill.
5. You’ll see a small block of colour – leave the default colour black, keep it selected and go to Effect>Stylize>Scribble and apply the following settings:
Angle: 45°
Path Overlap: 0 px
Variation: 2 px
Stroke Width: 1 px
Curviness: 0%
Variation: 50%
Spacing: 2 px
Spacing Variation: 1.5 px
6. Appearance Panel>Add New Stroke and give the text a 2 px stroke.
7. With the Stroke still selected, go to Effect>Distort & Transform>Roughen and apply the settings below:
Size: 0.5%
Size, select the Relative check button
Set the Detail level to 30 Points: click on the Smooth checkbox
Click OK and the scribble effect is created.
8. Select the black arrow selection tool (V) go to Type>Create Outlines
9. With the text still selected (now displaying as outlined with many nodes) go to Object>Ungroup and keep repeating this until the option to Ungroup is greyed out.
10. With the Selection Tool (V), select elements within your text and fill with any colour or gradient you like from your Swatches or Gradient palettes.
To apply the Scribble effect to other fonts without having to repeat this process, save your ‘scribble’ by opening a New Graphic Style in the Graphic Styles panel and giving it a name. To use it again, create your new text, select it and click on your *name scribble* from the Graphic Styles library.
There is a German word ‘Sitzfleisch’ that describes the ability to endure or persist in a task (literally translates to ‘sits flesh’ meaning the ability to sit at something for lengthy periods). I could think of no better word to describe the persistence and endurance of somebody I recently witnessed trying to rotate a triangle so that it would sit squarely on a box.
I had, coincidentally, created a little box that had the same issue in its design but took moments to resolve. It is based upon mathematical principles but involves no actual maths – just circles. Don’t be put off by the use of a few mathematical terms – they’re easy ones – just radius and diameter and I use no math, as such (multiply something by 2 ).
Once you get the principles you’ll find angles easy to calculate.
Here’s a quick tutorial – takes more words to explain than to actually do it.