A blog for me, about the things I like. After Effects, Procreate, Illustrator, Photoshop, Drawing, Painting, Paper Cutting, Sewing, Embroidering, up-cycling old furniture. Whatever grabs me in the moment/
This is a neat way to create a clean background for your images. You can see what a difference the technique made to the images below. Download the pdf to get the tutorial.
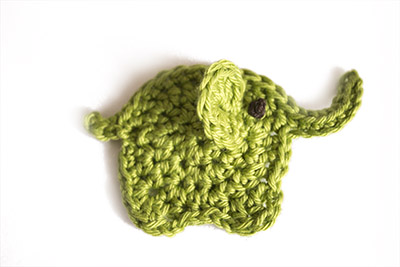
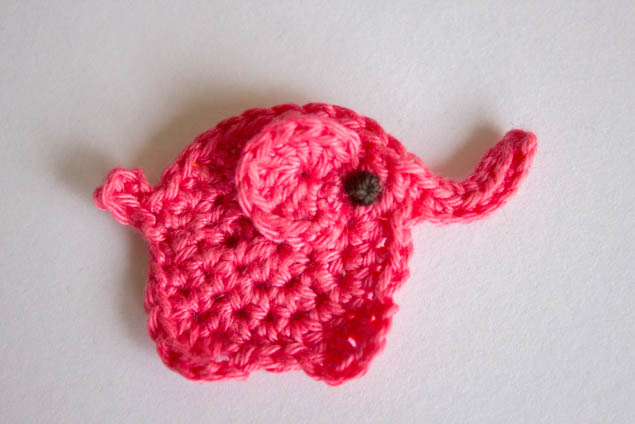
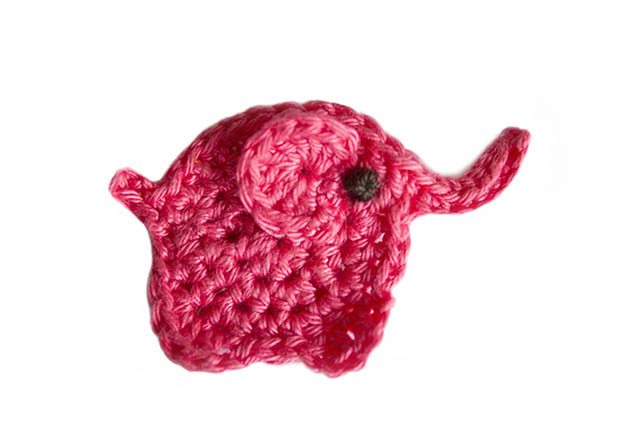
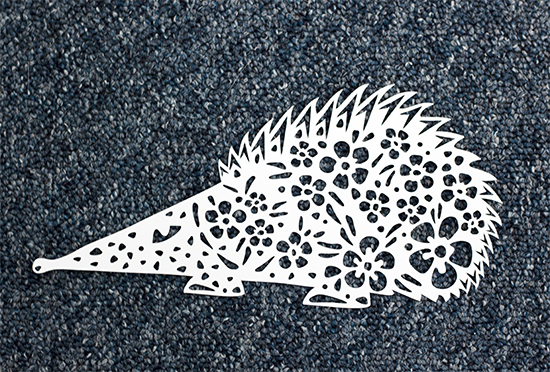
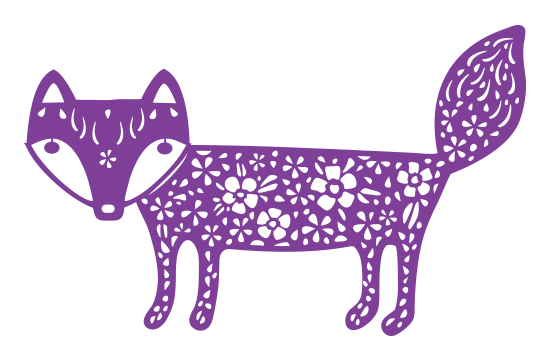
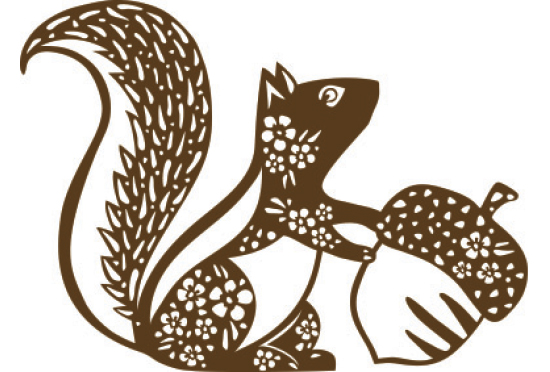
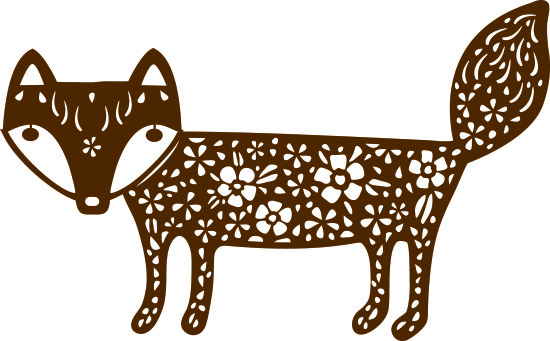
Am still working to create a full alphabet of ‘confetti letters’ as I call them (the cut-outs create a shower of pretty mess like confetti) but have been slightly derailed into making a few animals to go with them.
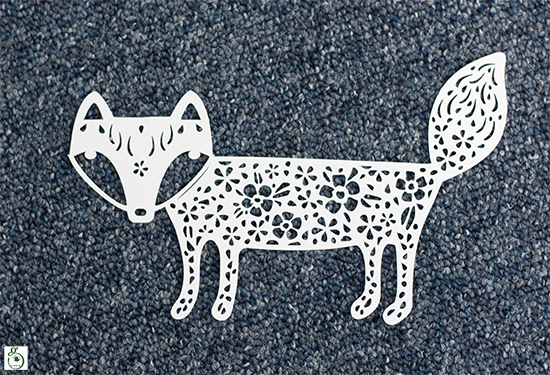
CatPorcupineFox: I posted the Illustrator design for this in a previous post.Have changed the eyes slightlySquirrelHedgehog
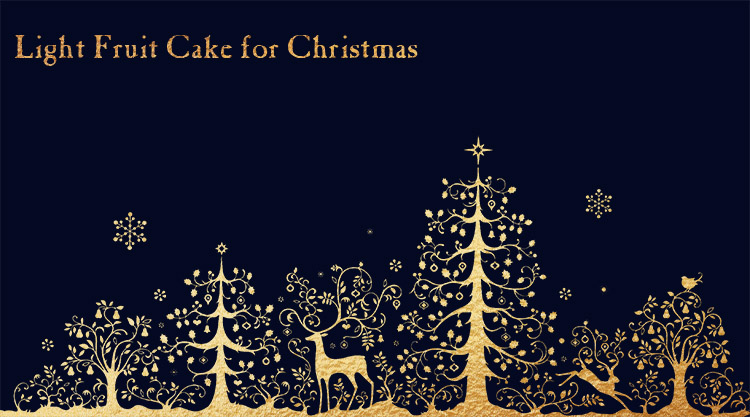
It’s September and I’m already thinking about Christmas. I have two fruit cakes made: the fruity-fruity light (er) one I posted a couple of weeks ago and a richer, more traditional one. Now thinking about Lebkuchen…
Did you know there is a word used to describe sentences that contain every letter of the alphabet? One example which has been around since at least the late 1800s is ‘The quick brown fox jumps over the lazy dog,”. They’re called Pangrams.
Am making good progress designing letters and working through the alphabet.
The montage above shows how far I’ve got with the designs in Illustrator.
Confetti Letters: Cut-Out ‘H’Q
Some progress with ‘Q’ but I’ve been getting distracted with other letters and things:
ZA3_ButterflyFoxyRing_of_Flowers_F
These still need some work. The small cuts in the butterfly are okay to cut manually but a cutting machine might have problems with them so will get round to enlarging them sometime.
It’s lighter but don’t mistake this cake for one that goes easy on the calories…
This cake is lighter than traditional Christmas cake but there are enough common ingredients to strike up a friendship between the two.
It keeps for months if well-wrapped and stored in a cool place. This means it’s ideal for making around August or September to be properly mature in time for Christmas. Add some pokey alcohol and it’s a proper grown up’s cake by anybody’s standards.
Note
Allow a day or two before you plan to bake it as it’s made
in two stages:
1. Chopping and soaking the fruit for a day or so.
2. Mixing all the ingredients together and baking.
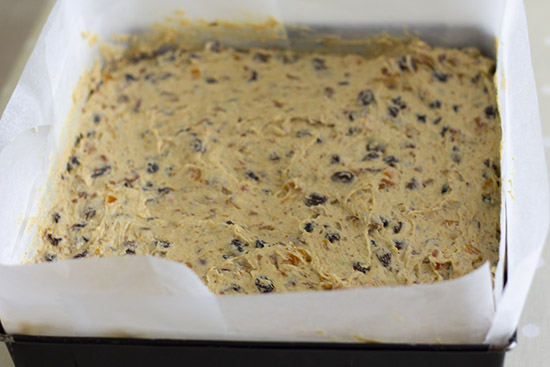
Tin preparation
The recipe makes a 10” square cake (3” depth). Double-line a 10” square tin with greased parchment or greaseproof paper and give the cake tin a ‘collar’ of an inch or so (ie, cut the paper so that it is taller than the tin by about an inch).
Ingredients
Chop the fruits below fairly small. These will be steeped in alcohol, or fruit juice, if you prefer a non-alcoholic cake
150g Figs
150g Dates
100g Crystallised Ginger
200g Glace Cherries
100g Crystallised Pineapple
100g Candied Peel
300g Chopped Apricots
350g Currants
200g Raisins
200g Sultanas
Juice and zest of an orange
Juice and zest of a lemon
10 TBS Malibu (or spirit to your liking)
Ingredients to be added to the soused fruits:
450g Butter
375g Demerara sugar
6 eggs
450g Plain Flour
125g Ground Almonds
225g Chopped Pecans
1.25 tsp Baking Powder
Method
In a large bowl stir together the chopped fruits
with the orange / lemon zest, juice and the 10 tbs or so of your chosen alcohol
or fruit juice.
Cover the bowl with cling film and leave to soak
24 – 36 hours.
On the day you bake:
Cream the butter and sugar together until fluffy.
Sieve the flour, baking powder and ground almonds together.
Crack the eggs into a bowl and give them a quick whisk.
Add the eggs and butter mixtures to the flour alternately, a little at a time.
Stir the chopped pecans and soaked fruit to the cake batter.
In the tin
Baking
Baking time is approximately 3 hours at two different temperatures – see below.
Pre-heat oven to 160°
Transfer the mixture to the cake tin.
Cover the cake with a square of parchment.
Place on
the middle shelf of the oven.
Bake for 1.25 hours at 160°.
Turn the cake round, reduce the temperature to 150° and bake for a further 1.5 – 2.0 hours.
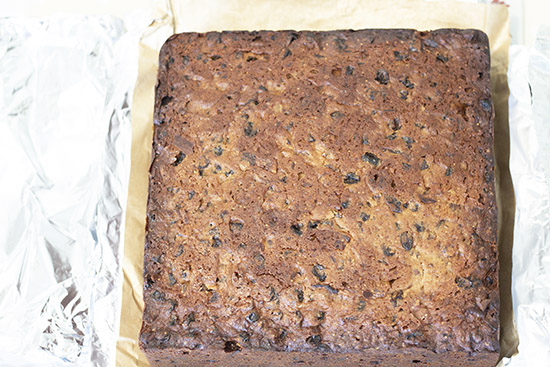
Check the cake with a skewer during the last stage of baking. When the skewer comes out clean, take the cake out of the oven and leave to cool in the tin.
Baked, cooled in the tin and getting wrapped up for the winter
Remove the cake from the tin, wrap in parchment and a final wrap of tin foil. Mine is a little overdone around the edges (I forgot to check it in its last hour… pah) but these will be sliced off before icing.
This cake will keep for months and will taste even better for leaving it to mature, especially if you give it a regular feed (a TBS or so) of Malibu, or other spirit / juice, until you’re either ready to eat it or wish to cover it with marzipan and fondant / royal icing, etc.
Or just be daring and eat it naked. Told you it was a proper grown up’s cake…
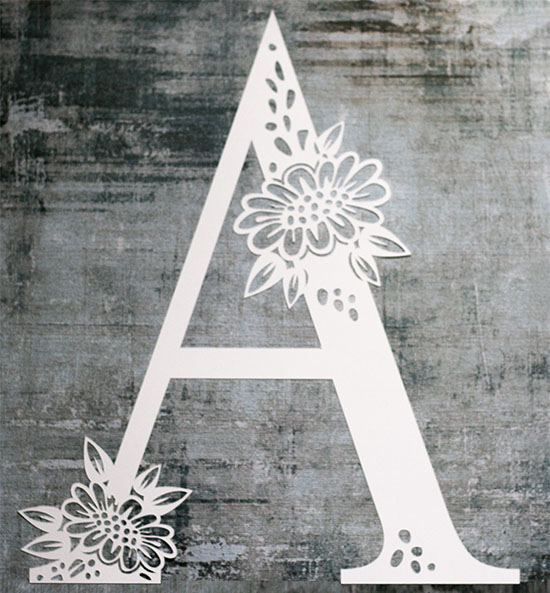
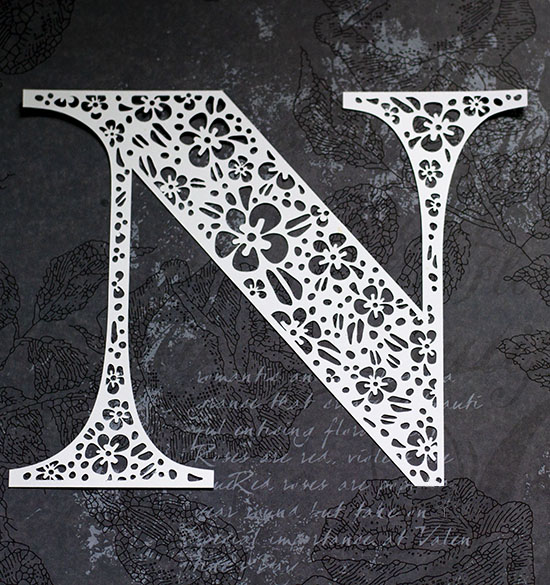
I’m showcasing the first few new papercut letter designs here and when I’m perfectly happy with them and how they cut, they’ll be up on Etsy.
I’ve been designing a few types before I decide which way to go and complete a whole alphabet with; some have already been cut out others are still in Illustrator:
Still in IllustratorJH for HappyDoh!Let it BeLetter NCEA
A for Again
Quite a few to cut out. A job for this weekend. J for Joy.
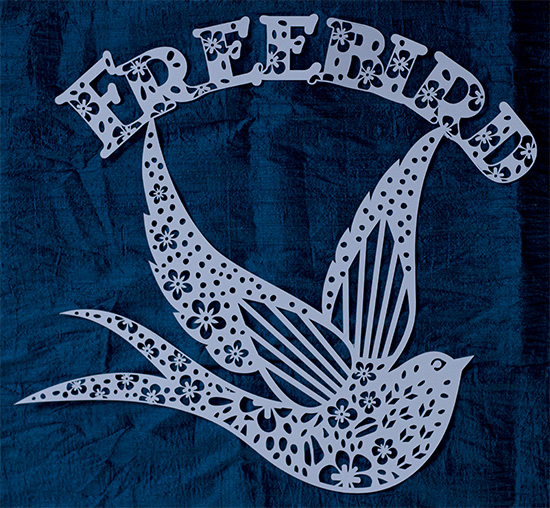
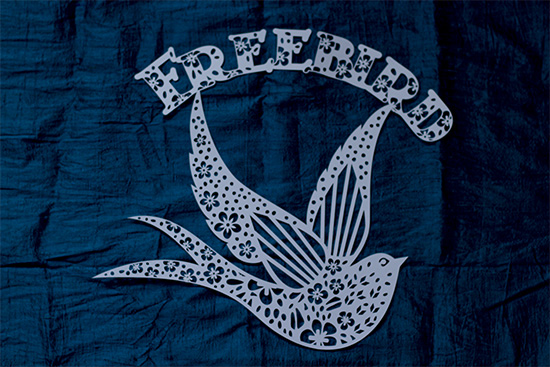
Papercut Freebird on slub-silk backgroundHow the papercut design looked in Illustrator with a coloured fill.
I designed the bird some time ago; it came to life as a pencil and paper drawing, was then scanned and imported into Illustrator for tracing.
Designing for a papercut means paying attention to legibility, that it will cut in one piece and not lose any bits that are meant to be part of the design. After loads of tweaking, the tedious stuff, I eventually settled on the design above.