
This effect uses Transform & Distort, Live Paint and Pathfinder functions. Change the palette to change the mood and experiment with different effects and change it up to suit yourself. 🙂
Get the pdf tutorial below:


This effect uses Transform & Distort, Live Paint and Pathfinder functions. Change the palette to change the mood and experiment with different effects and change it up to suit yourself. 🙂
Get the pdf tutorial below:
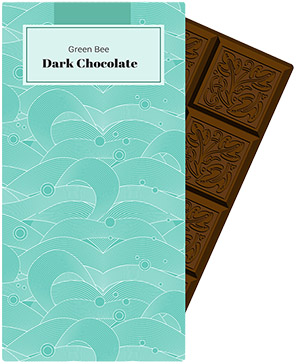
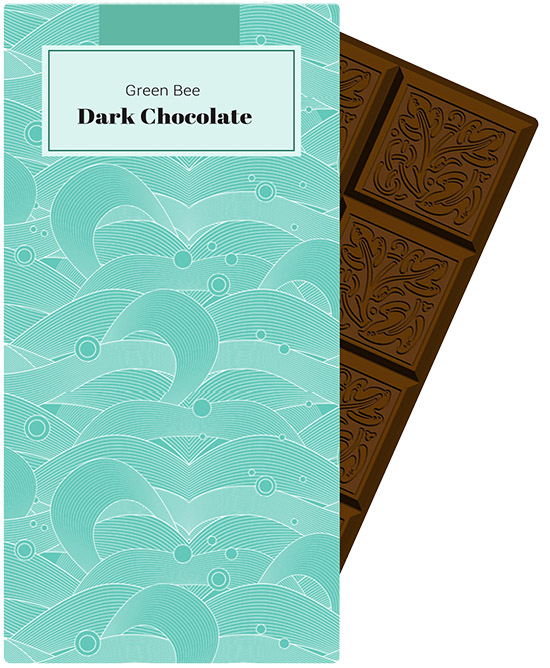
Today’s tutorial will walk you through the steps to create a realistic bar of chocolate and wrapper. Download the pdf here:
The wave design is a free download; get it here: http://www.dinpattern.com/2011/03/21/waves/

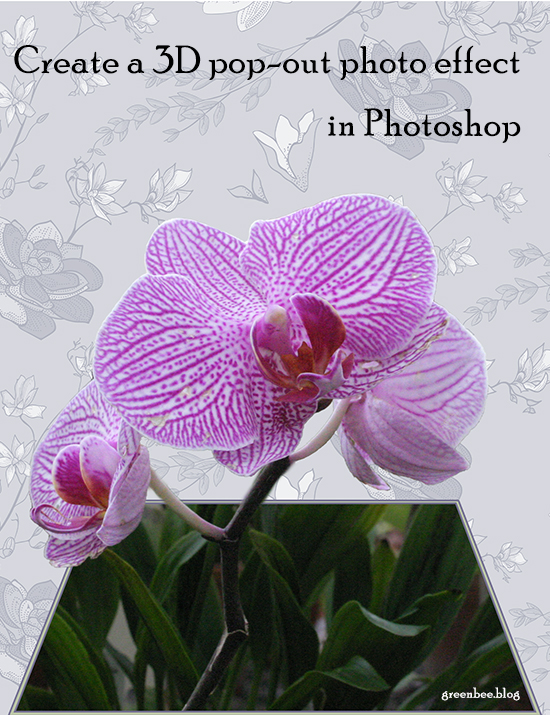
Today’s tutorial details how to create the effect of a photo popping out of its frame.
Download here:

🙂


Sometimes you need to be able to define the angle of a circle segment. Trouble is, in Illustrator, circles are not true circles; they are ellipses shaped into circles with bezier curves.
I have written a tutorial detailing the two methods I use to define the angle of a circle segment. Download the tutorial here:
A long time ago I wrote up a tutorial to do the same using Inkscape:
It might be out of date, I haven’t checked, but it’s here just in case it’s still useful. 🙂

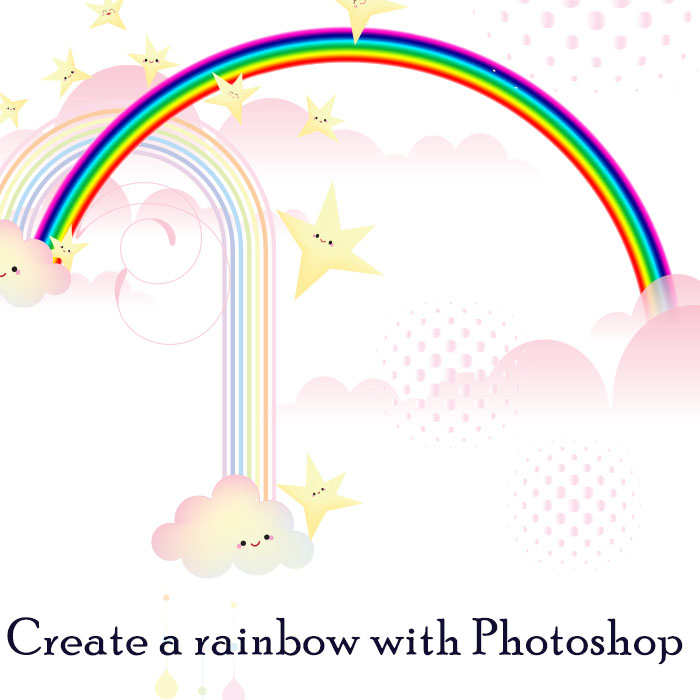
Today’s tutorial shows you a quick way to create a rainbow in PSD using Polar Co-ordinates. 🙂


Today ‘s tutorials are quick and easy techniques for filling in Illustrator and Photoshop text with background images.
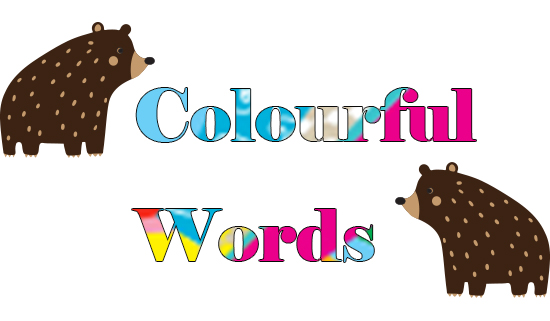
This screen shot below shows the layer order: Graphics layer above the text layer. The bears are on a separate layer.

🙂
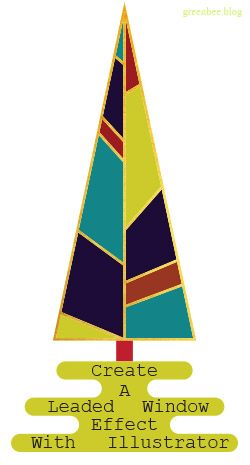

The individually coloured panels are what we’ll be creating in today’s tutorial. It’s a versatile effect that can be used for lots of different applications. I used it for the leafy design below.
🙂

Here’s the tutorial for you:
xoxoxo 🙂
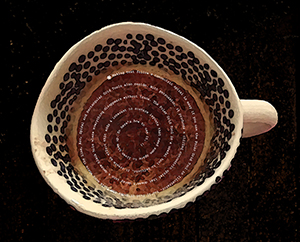

The Spiral Tool in Illustrator decays into an ever tighter and smaller turn and doesn’t work as a text path. It makes text increasingly illegible or clunky as it follows the spiral. This tutorial shows you how to make a concentric spiral text path.
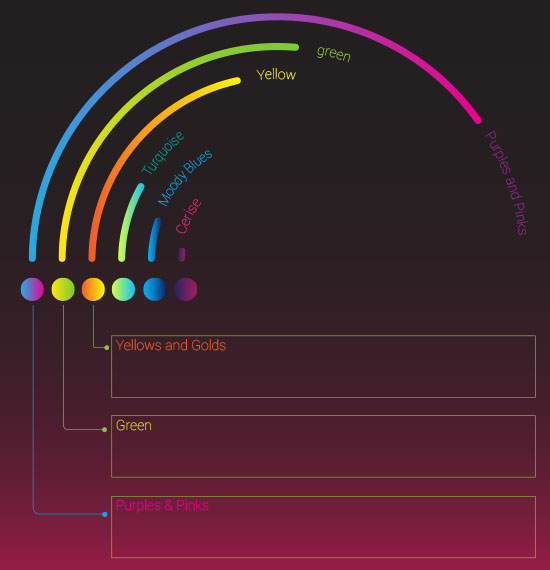
I’ve used concentric circles to create the framework for the infographic above so you can see an example of how the principles can be put to practical use.
*There are other ways to create concentric paths; you could create a circle then go to Offset Path to create perfect concentric circles without a spiral.*
Download the tutorial here:
xoxoxo