A blog for me, about the things I like. After Effects, Procreate, Illustrator, Photoshop, Drawing, Painting, Paper Cutting, Sewing, Embroidering, up-cycling old furniture. Whatever grabs me in the moment/
Hope you all had a wonderful Christmas and are now looking forward to the start of a new year and what it will bring. Our ginger tom was extra well fed on turkey and other bits. He takes on the role of Securicat while the big bird is cooking, he does it every year and very effective he is. Never had it pinched yet.
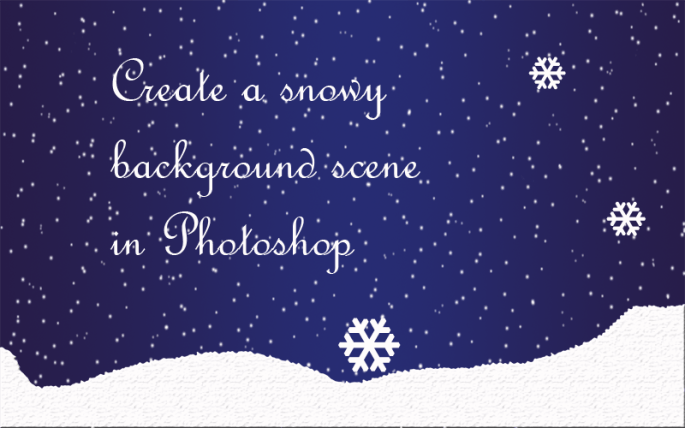
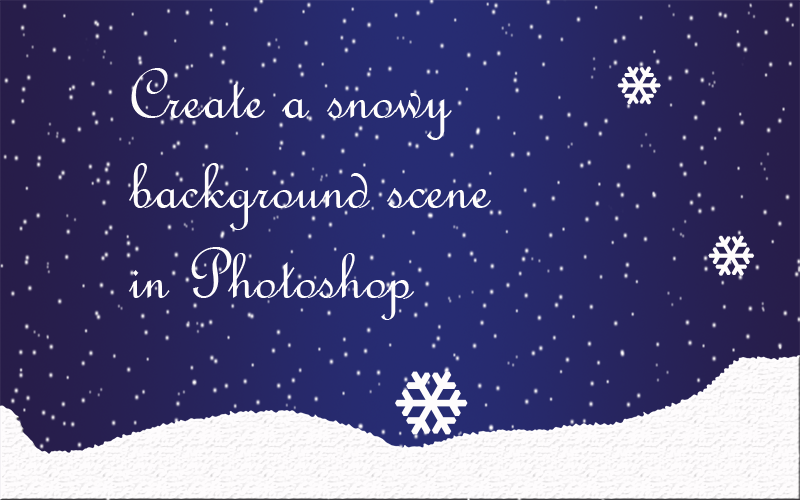
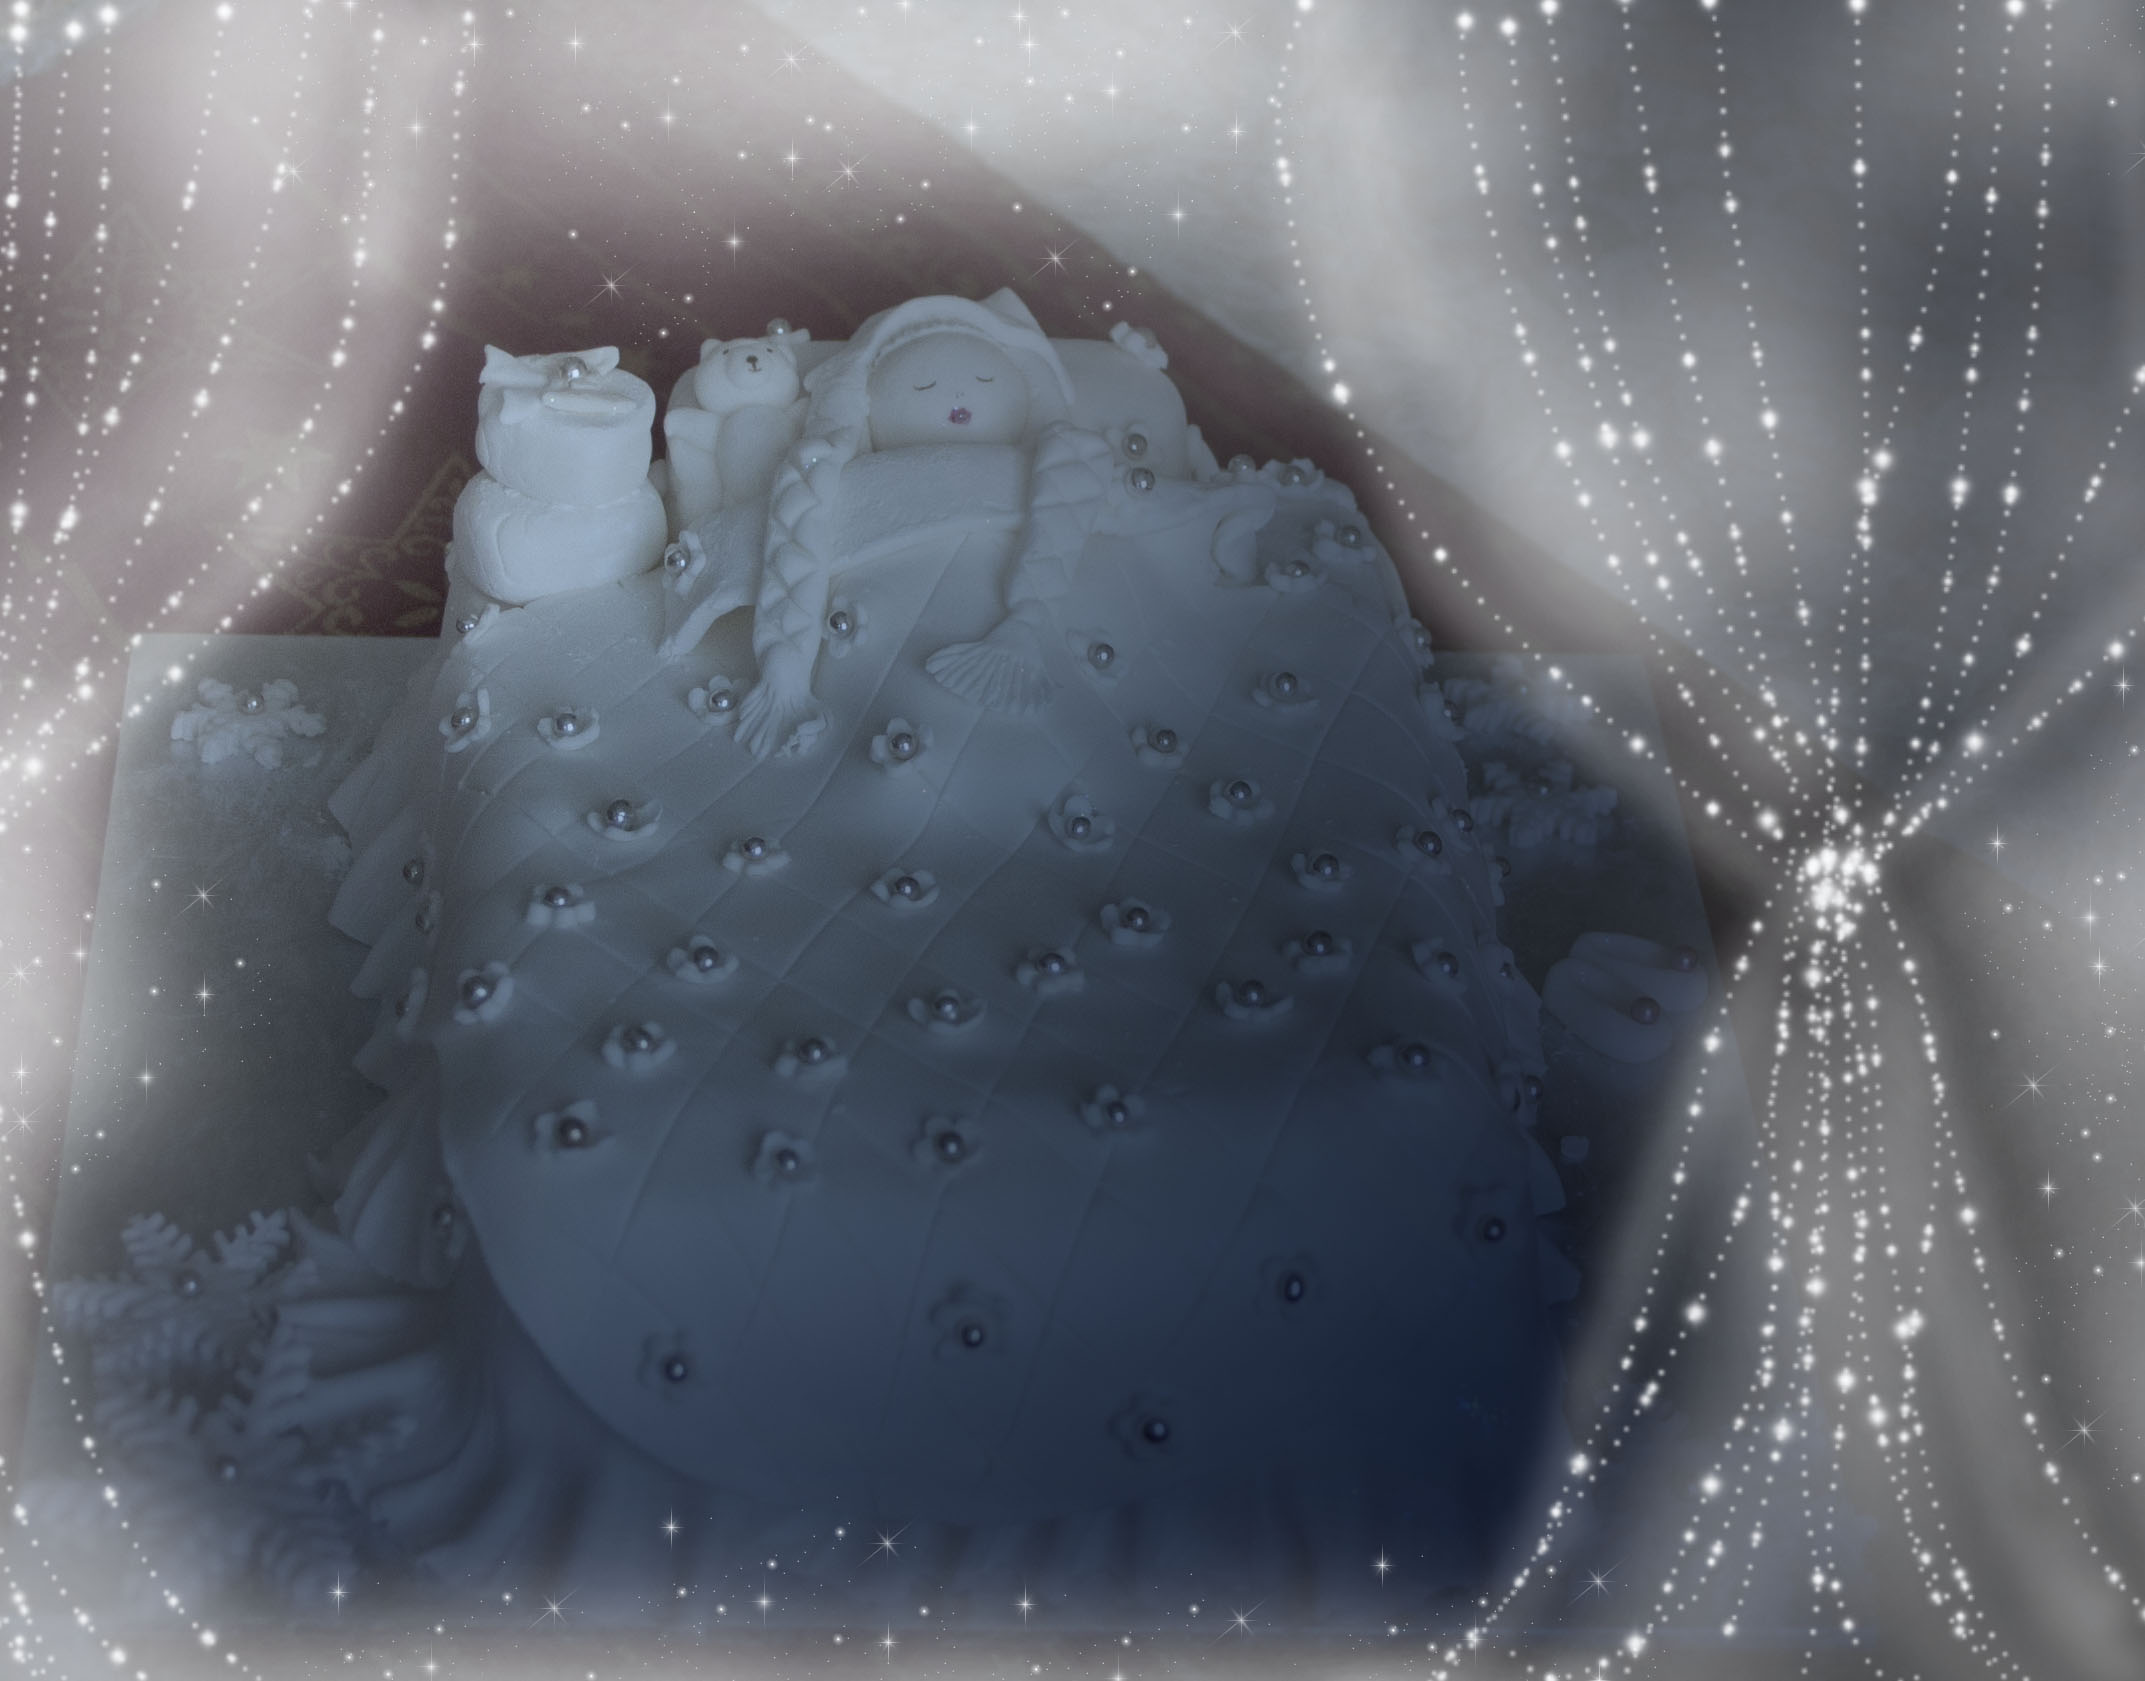
Am sharing my quick way to create a snowy background with Photoshop. Download the pdf below for the instructions.
In case I don’t post again until Saturday or later, I wish you all a very happy and prosperous new year!
How to create a snowy background scene in Photoshop
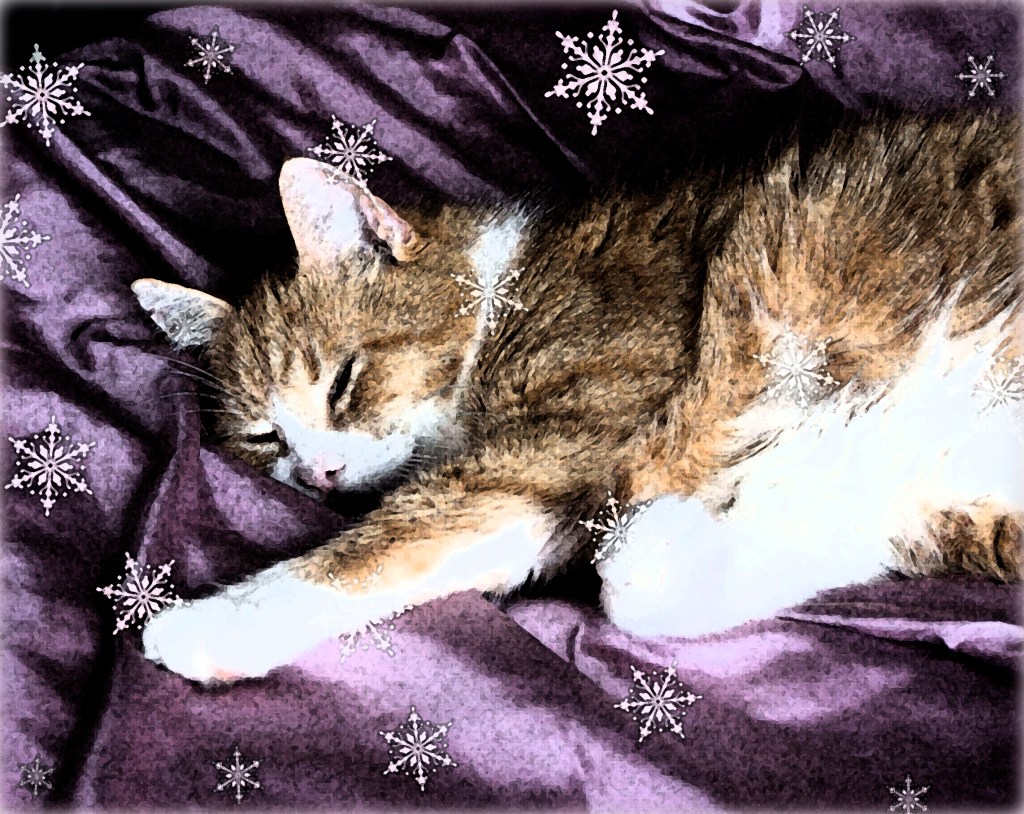
A great way to personalise and make a gift, even a small one, special, is to customise the wrapping. I like to take pics of my cats and bring them into Photoshop, obviously any photo manipulation SW will do, eg, Gimp and dress them up using filters.
One of my favourites is the watercolour effect and them use brushes to add snowflakes or other theme-related doodahs. It’s very simple.
Step 1. Buy a bar of chocolate.
Step 2. Measure the length and the width of the front (where you want to display your chosen image or graphic then scale or crop your chosen image to size.
Step 3. Print the image on some good quality paper, appropriate to the theme. Conqueror metallic champagne was one of my go-tos but it’s very hard to get now.
Step 4. Take off the chocolate bar’s outer wrapper and fold round the new personalised cover. A dob of PVA glue will secure it round the back.
Beautiful beloved Homer, died September 2011 aged 21.
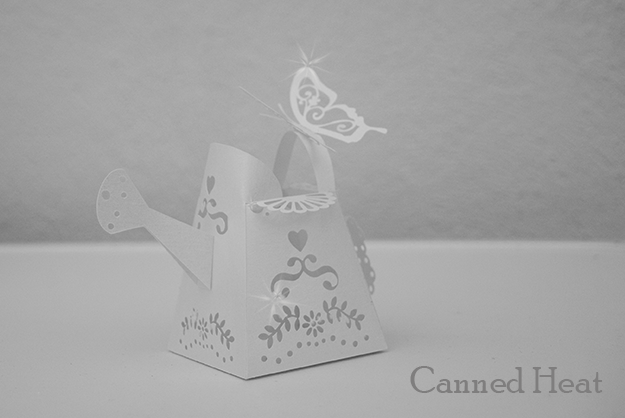
It’s my old mate the watering can. I created it in 2008? Maybe earlier – I’d have to check the date on the original file. I saw it recently in the Do Crafts magazine – not credited to me – just ‘from on the internet’… maybe saw the cut out template on SplitCoastStampers. I gave it away to a couple of places.
It’s a 3_dD paper cut created in Illustrator. Fill it with paper flowers and it’s a quirky little item!
Saw it used on another site and the blog-lady acknowledged me! Lovely!
My partner said he didn’t like rich fruit cake until he ate mine. Is mine particularly great? Fruit cakes taste like lots of other nice fruit cakes. So why love mine? It turns out his mum must have had the same ideas about fruit cake as my mum did:
Rule 1: Any and all burned currants or fruit MUST be left on the cake for consumption. They will be hidden by a layer of marzipan and coated, like nuclear waste, in a concrete casing of rock hard icing and, therefore, will not be visible. That means you won’t have the option of removing them before you eat. By the time you realise you’re gagging on nasty, you have a mouth that looks like the inside of an incinerator and would just make a completely disgusting spectacle of yourself if you tried to remove it.
Rule 2: Follow the recommended cooking time, then some, just in case any moisture or ‘yield’ is left in the cake. Always thinking ahead and planning for a shortage of breeze blocks, here. These cakes have so many uses.
Rule 3: Never, ever, EVER add glycerine to royal icing. When icing has the consistency of the armoured plating of a rapid deployment tank it will last much longer and still be around the following Christmas. Should war be declared between times, build yourself a air raid shelter with it.
So, for many years, my partner thought all rich fruit cake was like that! Mystery explained.
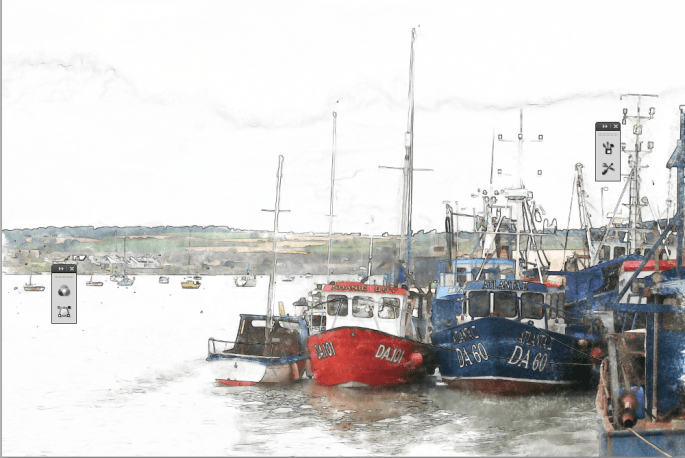
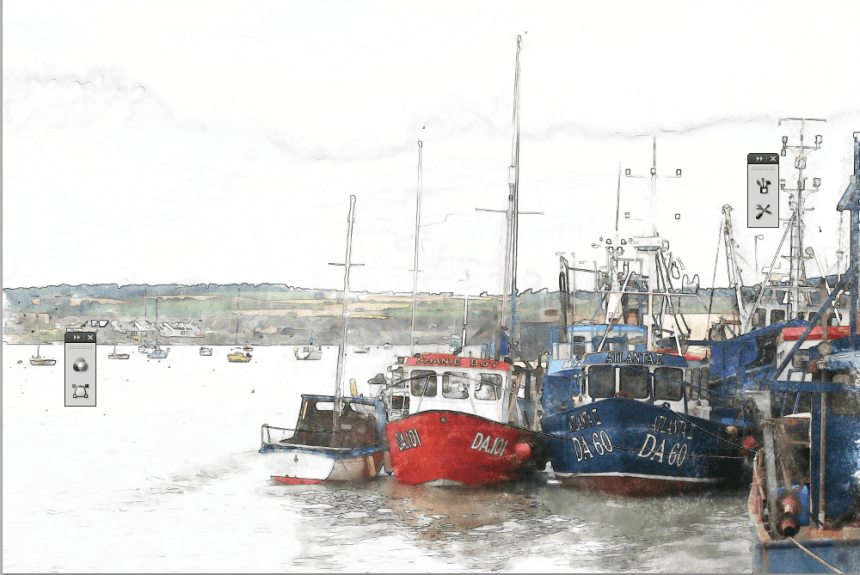
Follow my tutorial to render a photograph to a water colour-effect image. I recommend using Glowing Edges / Invert but think Find Edges without the inversion would work just as well.
Download the pdf and have a go yourself. Have fun.
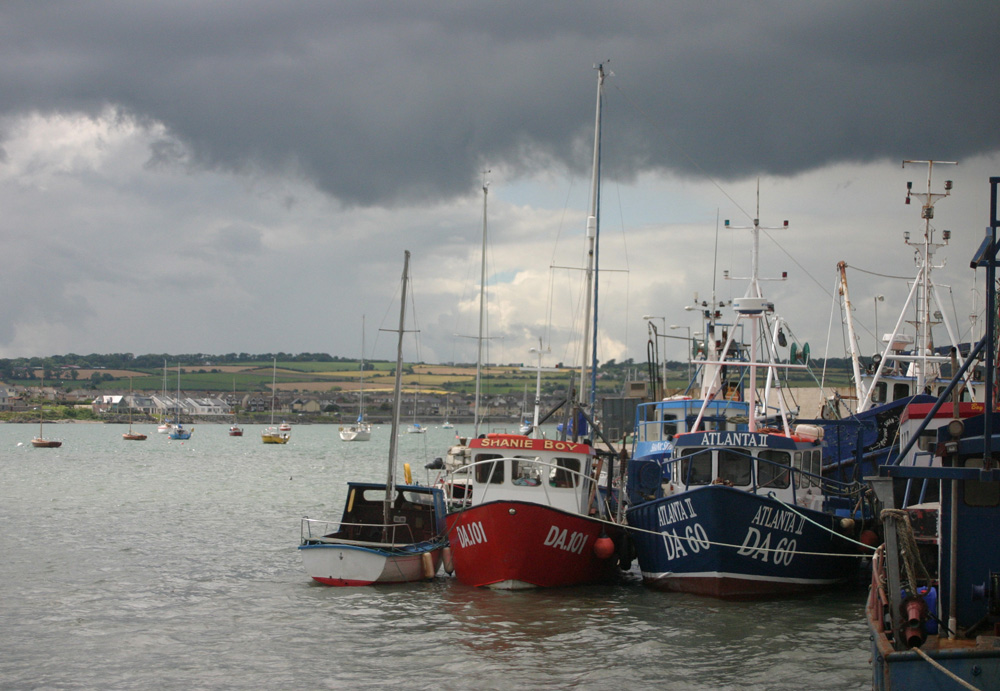
Original photograph of Skerries harbourThe water colour-effect applied to the original image