Colourful Words: Illustrator and PSD

Today ‘s tutorials are quick and easy techniques for filling in Illustrator and Photoshop text with background images.

Illustrator

  • Create your text. I’m using Cooper Black.
  • Place, Copy or Import the image you want to fill your text with.
  • Embed imported or placed graphics.
  • Send the image to the back of the text (both are on the same layer): Object>Arrange>Send to Back.
  • Select the text and image then go to Object>Clipping Mask>Make.
  • Go to the Properties menu and give the text a stroke to define it clearly as the action of creating a clipping mask will have removed the text fill and stroke.

Photoshop

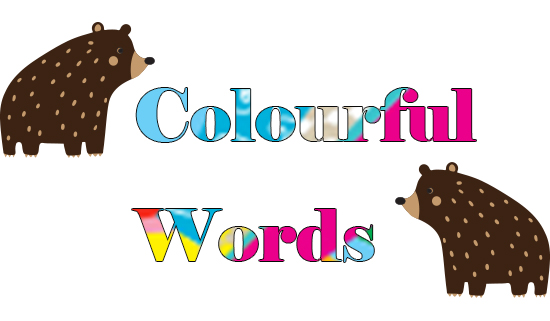
  • Type your text. This time I’m using Elephant. The bears are just for fun and not part of the technique 🙂
  • On a separate layer, create, place or import the pattern / image to fill the text with.

This screen shot below shows the layer order: Graphics layer above the text layer. The bears are on a separate layer.

  • Alt-Click between the two layers, ie, on the dividing line between them.
  • Double-click on the text layer, select Stroke>colour and size to apply to the outline of the text to define it.

🙂

Create a Leaded Window Effect in Illustrator

The individually coloured panels are what we’ll be creating in today’s tutorial. It’s a versatile effect that can be used for lots of different applications. I used it for the leafy design below.

🙂

Here’s the tutorial for you:

xoxoxo 🙂

Create a Concentric Spiral Text Path in Illustrator

The Spiral Tool in Illustrator decays into an ever tighter and smaller turn and doesn’t work as a text path. It makes text increasingly illegible or clunky as it follows the spiral. This tutorial shows you how to make a concentric spiral text path.

An infographic I’m working on.

I’ve used concentric circles to create the framework for the infographic above so you can see an example of how the principles can be put to practical use.

*There are other ways to create concentric paths; you could create a circle then go to Offset Path to create perfect concentric circles without a spiral.*

Download the tutorial here:

xoxoxo

Create Blends in Illustrator

Making a blend is super quick:

  1. Draw two wavy lines with the pen or pencil tool to do this. Double-click to bring up the settings for these and set the smoothing up high for smooth curves).
  2. Select both sets of lines then go to Options>Blend. Select Colours or Steps. I selected Steps and entered 7 but the number of copies to make is up to you.
  3. Then go to Options>Blend>Make to see the effect.
  4. Play with different effects, eg, select the blend and go to Object>Expand and apply a gradient.

Sometimes the ends look straggly – select the Direct Selection tool and grab the end point anchors, align them so they centre horizontally and vertically and taper them. You can also pinch in other sections of the blend if you want to tweak the design.

You can create separate blends and join them together by going to Object>Expand  then selecting each pair of end points in turn and using  Anchor>Connect  to join them. This enables you to apply a single gradient over the whole graphic. Not for the faint hearted if your blend is made from a large number of steps, though.

🙂

Create a Segmented Wave in Illustrator

The curvy path in the picture is made up of little segments that can be reflected and aligned to create a curvy path. Each segment can be scaled up or down to create interest and impact. You can unite them using Pathfinder to create a single colour or gradient wave.

The tutorial is for Illustrator CC but I think all the functionality to do it is in CS6 and maybe earlier :):

Make paper jubblies

Jubblies decorated with stamped bunnies in pink tutus.

Use pretty paper and decorate for any occasion. They are really cylinders that have been turned 90 degrees and crimped to make a tetrahedron. You don’t need a crimper to create the corrugated top and bottom but it does complete the ‘look’.

Fill them with sweets as party treats or shower gifts. Make 24 and hang them up as an advent calendar. I’ve made advent calendars with them many a year.

Download the instructions ‘crimped-jubbly’ below:

A set of decorative advent numbers to cut out

If you make the jubblies as an advent set, you’ll need to number them – I’m giving you the set I made in Illustrator a while back. If you have a laser printer, some deco foil and a laminator you can foil them and make them look really sensational. For instructions on how to do that, see Jennifer McQuire’s tutorial: https://www.youtube.com/watch?v=mP-aBqtRgmg

Personalise with a decorative initial:

Download the image above, scale to size and cut out or, if you have Photoshop, you can create a set of .abr brushes (there are lots of tutorials on how to do that – it’s very easy).