Today’s tutorial shows you how to create a spread of equilateral (60° angles) tesselated triangles and fill them with colour using the Live Paint Tool.
Download the free tutorial here:


Today’s tutorial shows you how to create a spread of equilateral (60° angles) tesselated triangles and fill them with colour using the Live Paint Tool.

Download the free tutorial here:

Inspiration for graphic design is everywhere but sometimes our enthusiam gets damped down with decision fatigue or deadline pressure. We all want to produce something creative, something to give the eyes a real feast. And show off our skills.
Today’s tutorial will give you all that and more. It shows you how to use the Blend Tool and make friends with the Envelope Distort Mesh monster 🙂 It also shows how easy it is to create glowing particles and save them as Symbols. All in less than 30 minutes. Promise.
Download the free tutorial here:
Fyi: I am using Illustrator cc 2020.

Today’s tutorial walks you through the process of creating a gradient mesh in illustrator to make a coloured backdrop. It then takes you through the steps to make a bokeh brush in Photoshop and how to apply bokeh over your backdrop. Create a beautiful background image suitable for loads of different applications.
The free pdf tutorial is here:

Today I’m posting a tutorial on how to create the reflective glassy ball as seen in the image above.
It’s based on kdigits video but has lots of changes all detailed in a step-by-step illustrated set of instructions. Mine is created with Illustrator cc but don’t think there are any new tools it uses that aren’t in CS6 or possibly CS4/5.
The tutorial is a free pdf download and hope you give it a go and enjoy it.
This tutorial was inspired by kdigits You Tube video:
Logo Design crystal marble ball https://www.youtube.com/watch?v=Iwk29syP3Kk&t=33s

Happy Earth Day!
Today I’m giving you a set of free Illustrator brushes to create some stunning pattern designs.
You don’t have to create mandalas, of course, draw any curve or line or shape and use the pattern brushes to decorate them any way you want. I’ve saved them as Tints so you can change colour without having to expand them.
Unfortunately, security on WordPress doesn’t allow me to share ai. or zipped files with you as downloadables. If you want them, just place a request via comments with your email and I’ll send them to you that way.
Bye for now 🙂
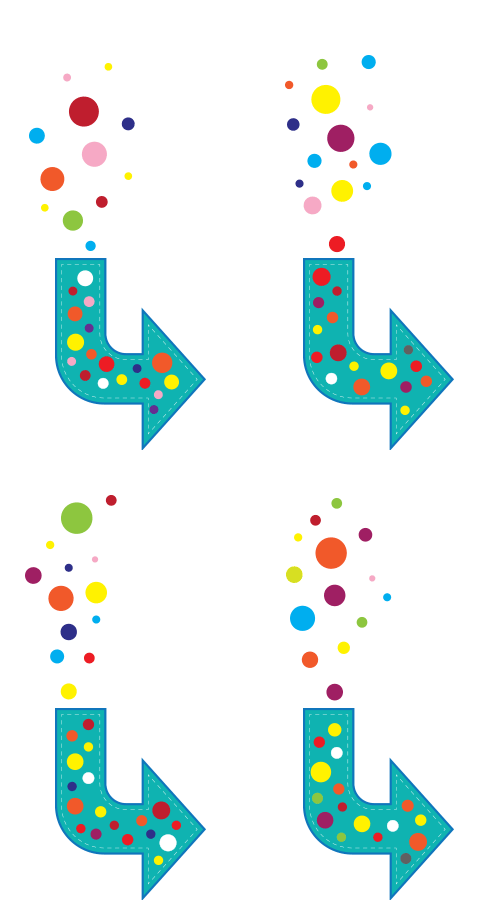
Today’s tutorial shows you how to make an animated download arrow (.gif)
using Illustrator & Photoshop. 🙂
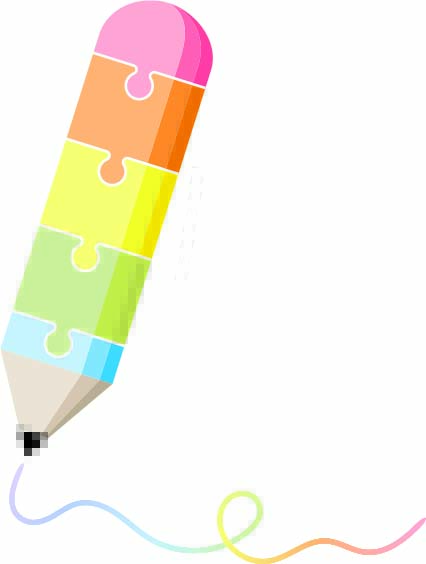
We’ve all seen those super infographics where shapes are broken into jigsaw pieces to denote stages in progress, etc. They can fool you with their seeming simplicity but there’s a bit more than meets the eye. Learning the techniques is worth a little bit of effort and I’m sure you’ll come up with brilliant designs that use the principles to convey information in a compelling way.
Today I’m giving you a three-in-one tutorial.
The tutorial is fairly long mainly because I’ve taken screen shots and documented each step. If you’re familiar with Illustrator you might find it a bit pedestrian but if you’re just getting going, there’s lots of things to learn in a friendly way. 🙂
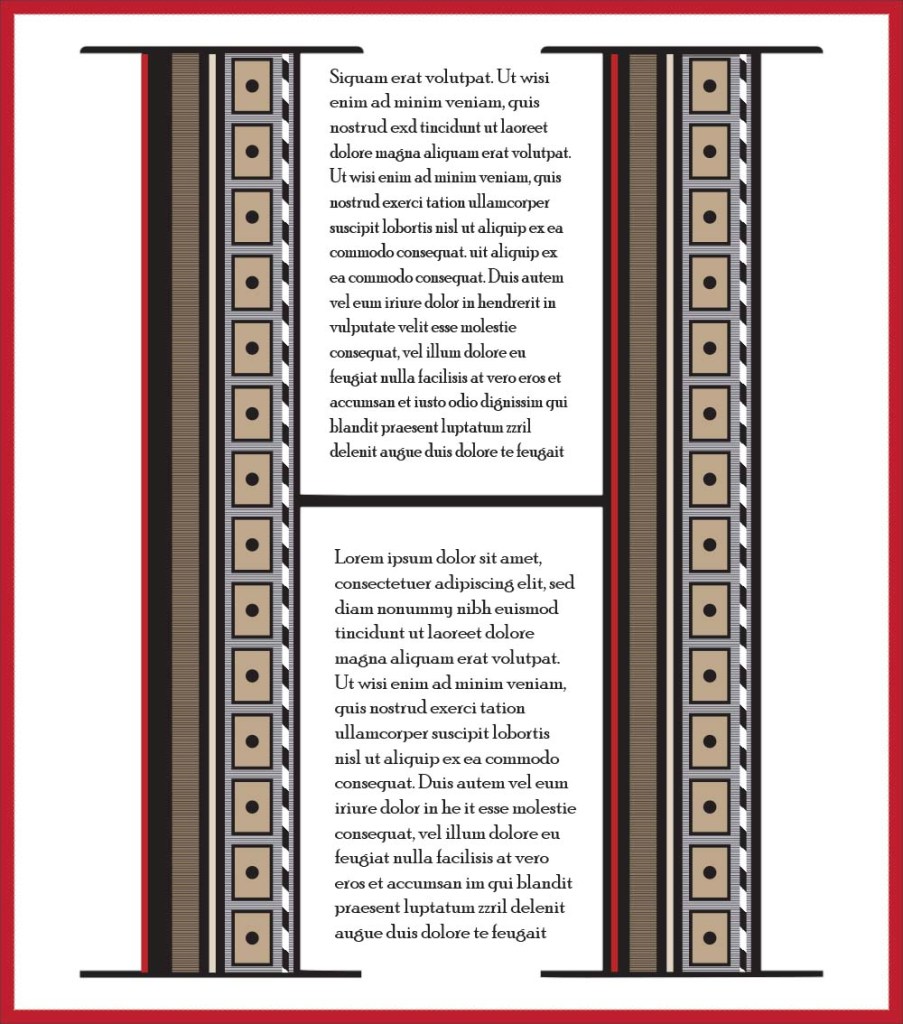
Today I’m giving you a tutorial, not how to create the same as above but lots of things you can create to fill a letterform. They’re mostly basic mini tutorials but if you’re new to Illustrator you might find them useful.

The Shapebuilder Tool gives you a nifty way to either unite or delete sections of overlapping objects in Illustrator.
The yin yang above takes about 5 minutes to create. Have a go: download the tutorial for the instructions: