
Make an animated gif with Photoshop. I’m using CC but earlier versions, from CS5, maybe before, will also work.
Download the tutorial by clicking the green hare:


I don’t think the owl will have much luck catching a rabbit for dinner 🙂


Make an animated gif with Photoshop. I’m using CC but earlier versions, from CS5, maybe before, will also work.
Download the tutorial by clicking the green hare:
I don’t think the owl will have much luck catching a rabbit for dinner 🙂

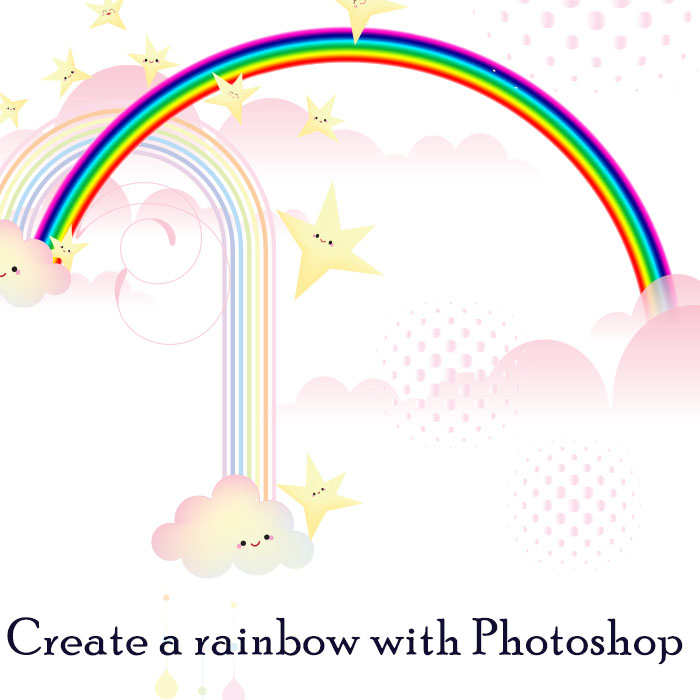
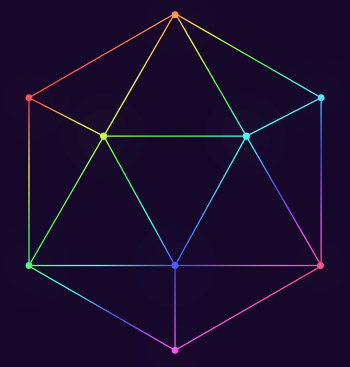
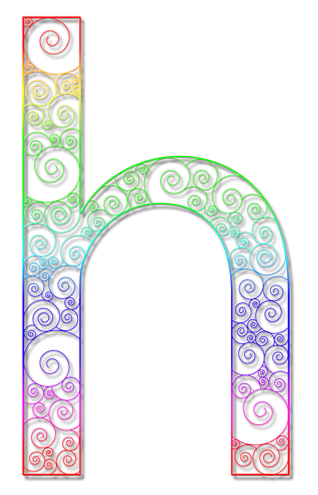
Today’s tutorial shows you a quick way to create a rainbow in PSD using Polar Co-ordinates. 🙂


Today ‘s tutorials are quick and easy techniques for filling in Illustrator and Photoshop text with background images.
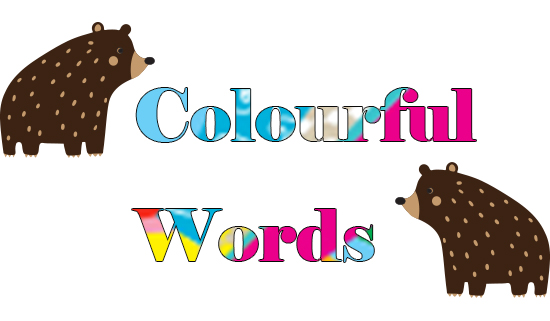
This screen shot below shows the layer order: Graphics layer above the text layer. The bears are on a separate layer.

🙂
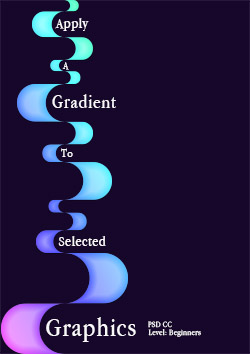
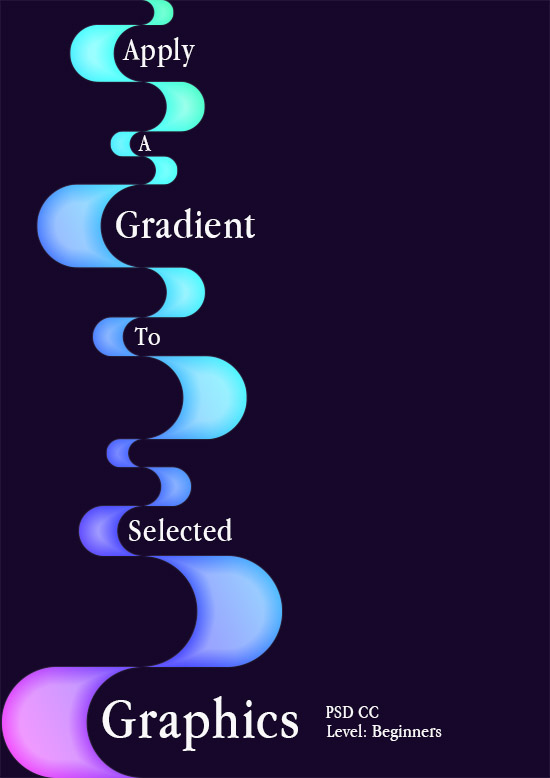
This is a really quick and easy tutorial to apply a gradient onto selected graphics rather than over a layer. It is particularly effective applied to thin strokes or outlined graphics to create an etched effect. 🙂
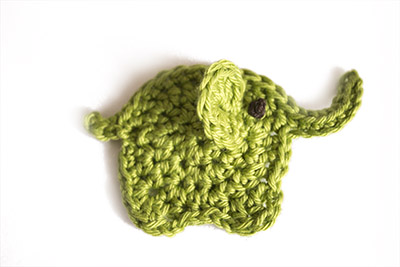
This is a neat way to create a clean background for your images. You can see what a difference the technique made to the images below. Download the pdf to get the tutorial.
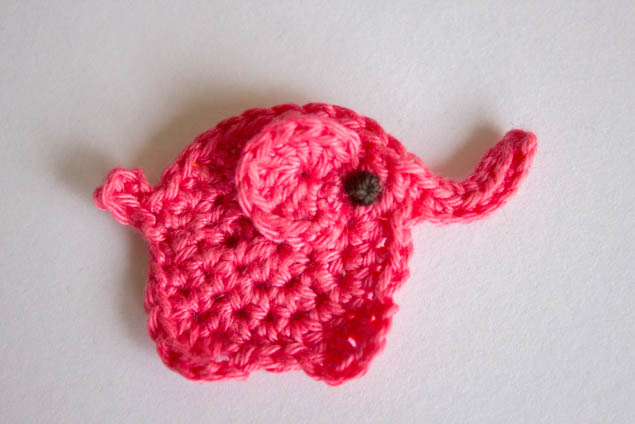
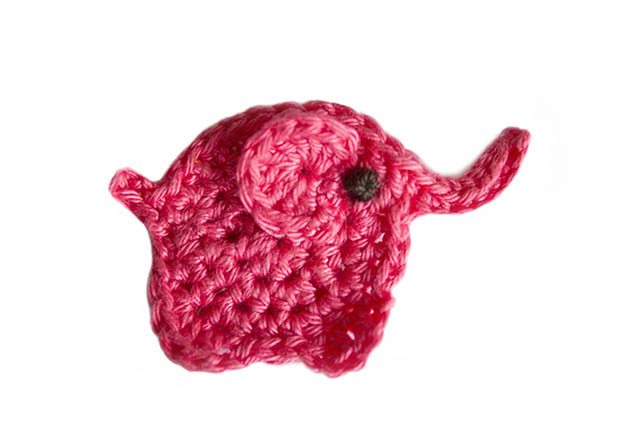
PS: The crochet pattern for the applique elephant comes from Repeat Crafter Me and the link to the pattern is here: https://www.repeatcrafterme.com/2014/10/e-is-for-elephant-crochet-elephant.html
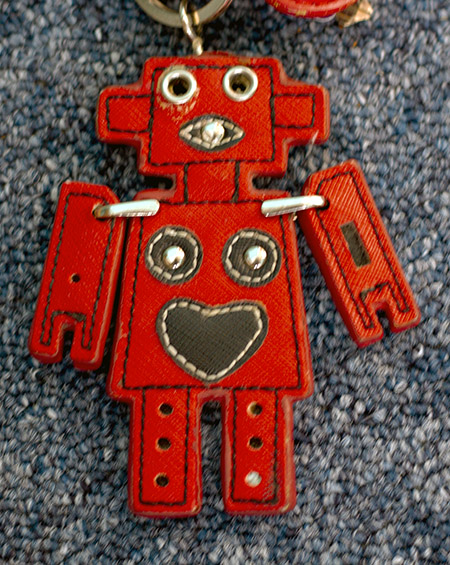
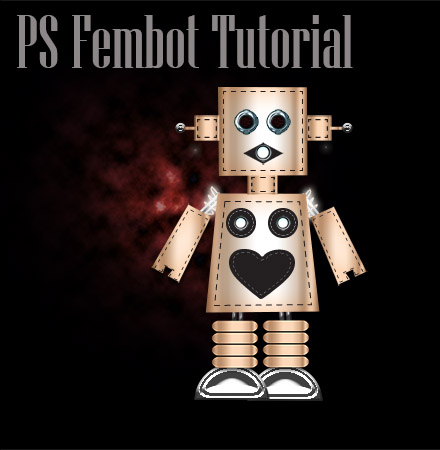
This is a tutorial I wrote some nine years ago for my old blog, The Singing Tree. I still have the original keyring it was based on:
The tutorial was for CS5 or 6, I think, but still good to go.


*Reposting from original blog The Singing Tree*


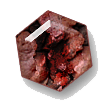
Jewels are easy to create in Photoshop – follow the tutorial to create your own.