Here’s how to make 3D stars in Illustrator. I’m using CC but it works in much earlier versions.


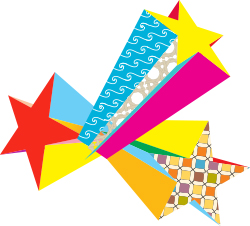

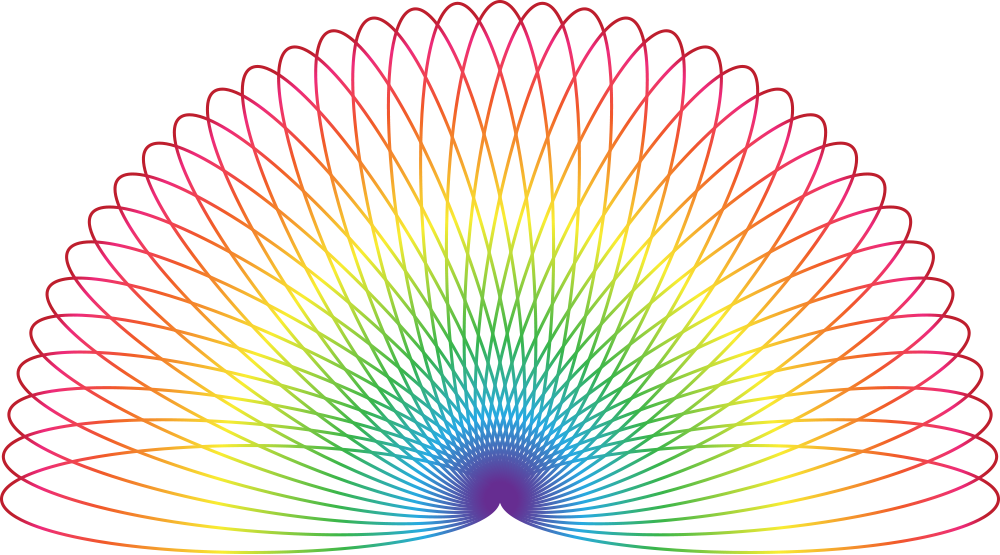
Making a blend is super quick:
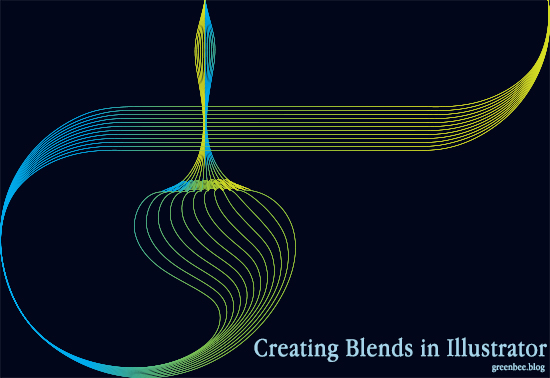
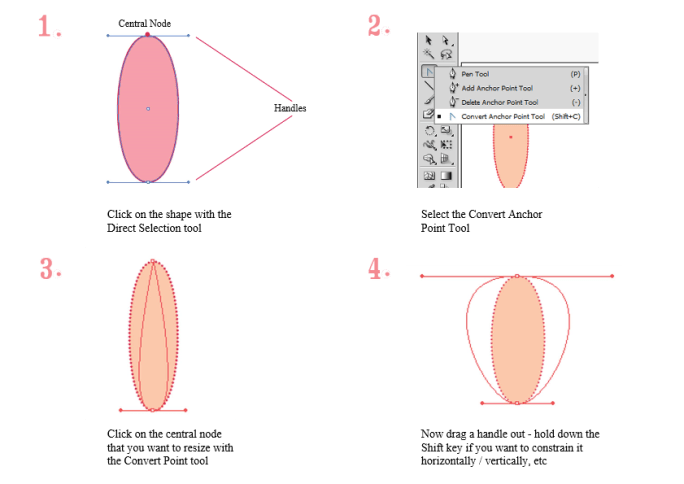
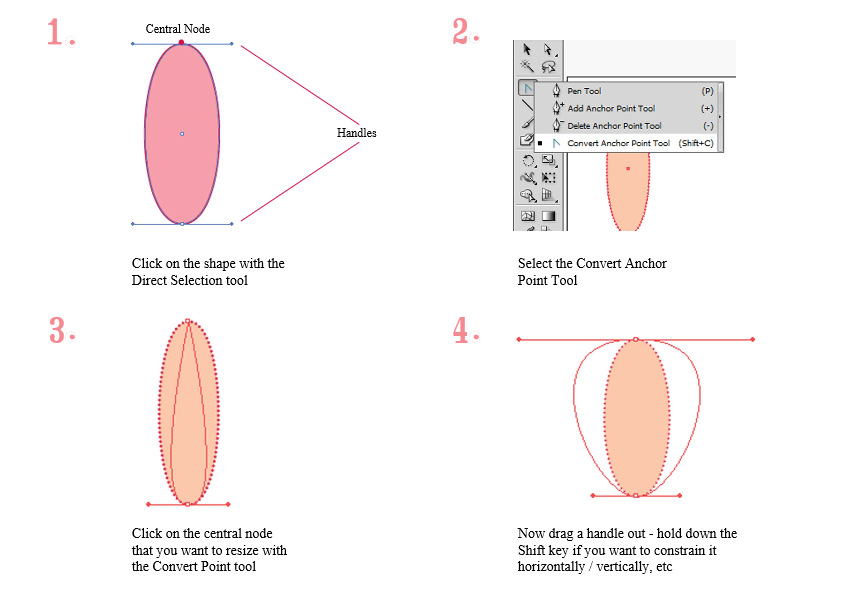
Sometimes the ends look straggly – select the Direct Selection tool and grab the end point anchors, align them so they centre horizontally and vertically and taper them. You can also pinch in other sections of the blend if you want to tweak the design.
You can create separate blends and join them together by going to Object>Expand then selecting each pair of end points in turn and using Anchor>Connect to join them. This enables you to apply a single gradient over the whole graphic. Not for the faint hearted if your blend is made from a large number of steps, though.
🙂
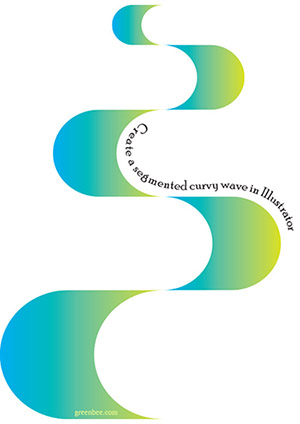

The curvy path in the picture is made up of little segments that can be reflected and aligned to create a curvy path. Each segment can be scaled up or down to create interest and impact. You can unite them using Pathfinder to create a single colour or gradient wave.
The tutorial is for Illustrator CC but I think all the functionality to do it is in CS6 and maybe earlier :):

Make Chevron (or Ripple) swatches in Illustrator and use them to fill shapes. Download a full tutorial on how to do this here:
Save the Swatch palette to your pattern library and have it to hand whenever you need it.
Just a quickie to outline some basic Transform Effects, Transform Each and Pathfinder functions. It’s mainly for crafters with an eye to outputting to a cutting machine but the principles are no different for welding, subtracting, duplicating, etc, as they are in usual graphics.


*Reposting from original blog The Singing Tree*